Polish Pierogi (dumplings) with white cheese, potatoes and onions

Pierogi are probably one of the most beloved Polish specialties. Everyone who visits Poland has to try them.
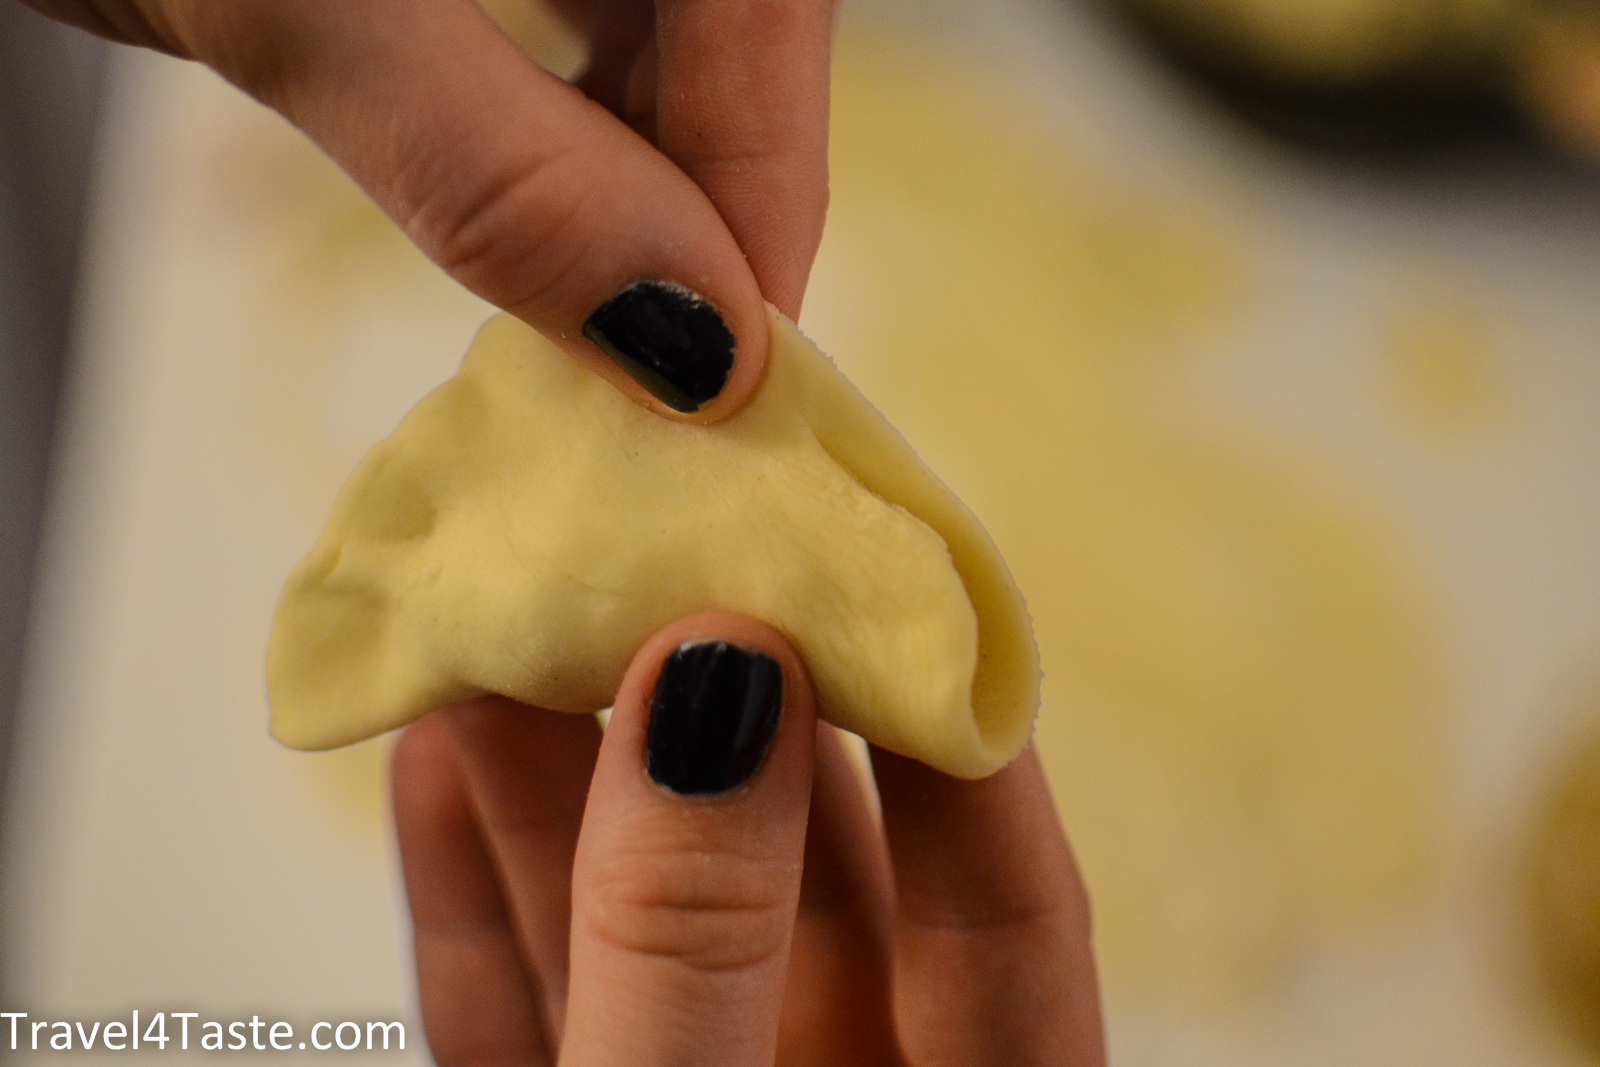
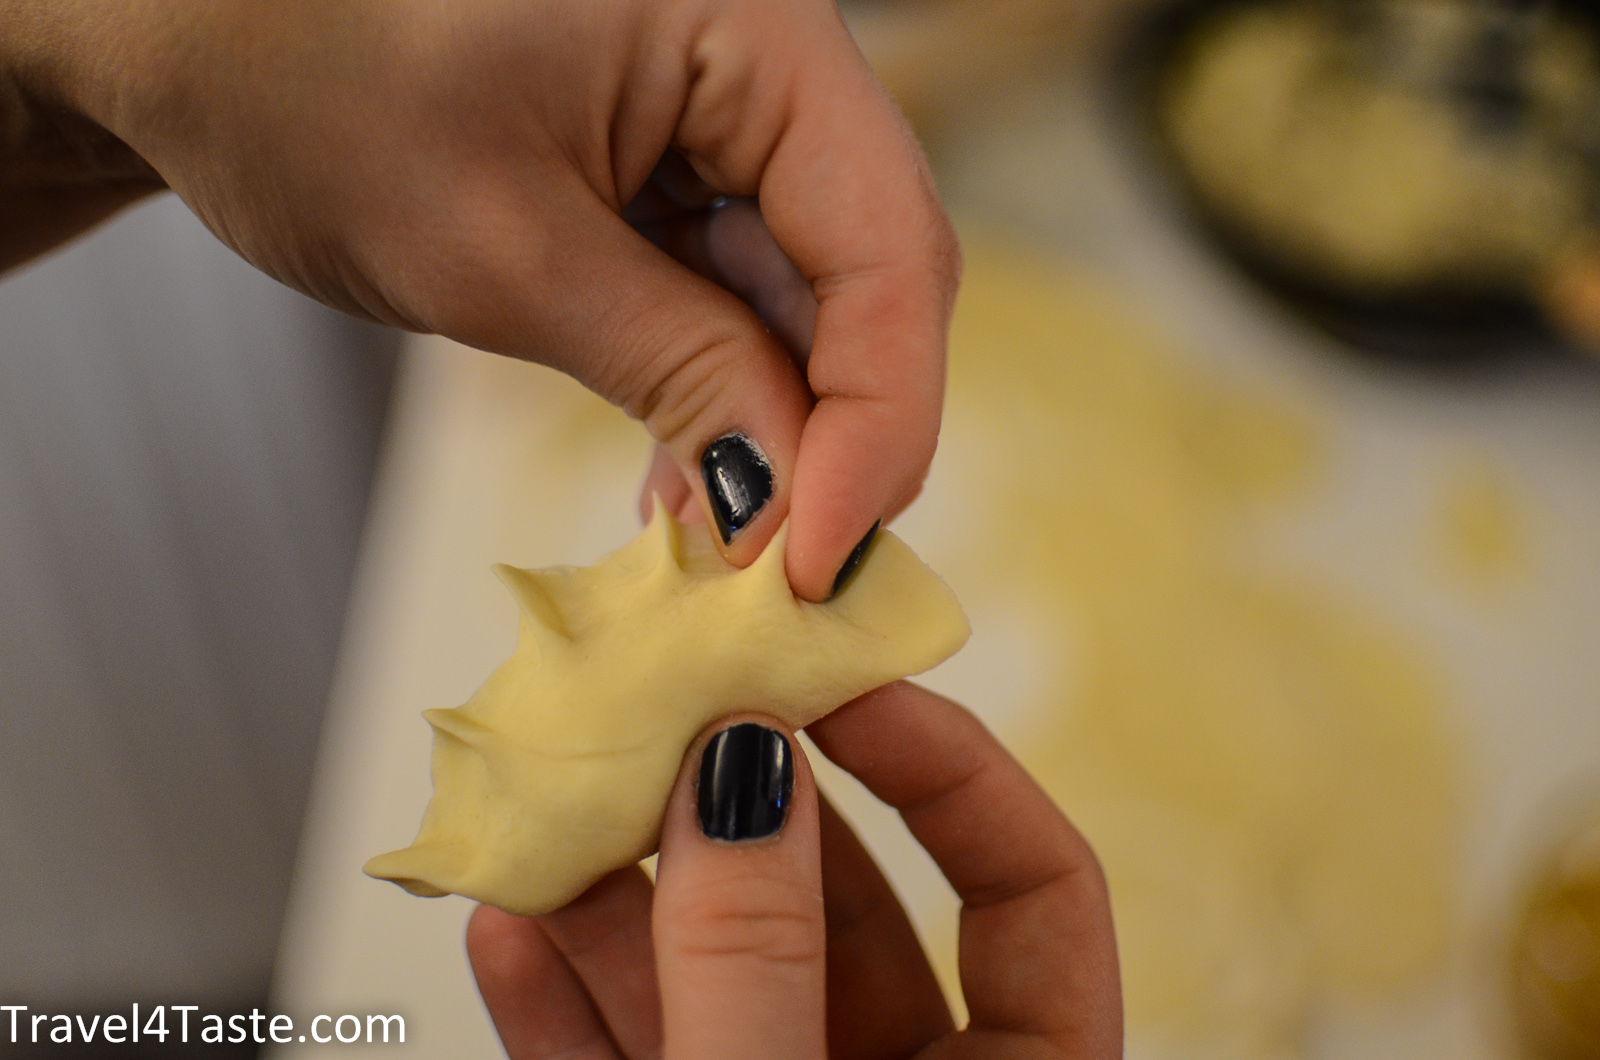
In my Polish home, it is my grandma who is the Pierogi master! It is probably because this dish is relatively time consuming. When I was a little girl, I loved to help my grandma in the kitchen. Doing Pierogi was especially lots of fun, because I loved to do the pretty patterns on their edges!
Preparing Pierogi can be a real group work! You can easy divide the task for 4-5 people.
One can be responsible for rolling out the dough (you need some muscles for that because the thinner the better!) and cutting out the circles. Others can put the filling in and form the Pierogi, while another can be responsible for cooking! Lots of fun!
In Poland we have 3 main fillings for pierogi: mashroom & cabbage, meat or the one I will present here: filling with white cheese, potatoes and onions.
[facebooklike]
to prepare around 30 pierogi:
for the dough:
♥ 2 glasses of flour (350g)
♥ 1 egg yellow
♥ 125mL of worm water (not hot)
for the filling:
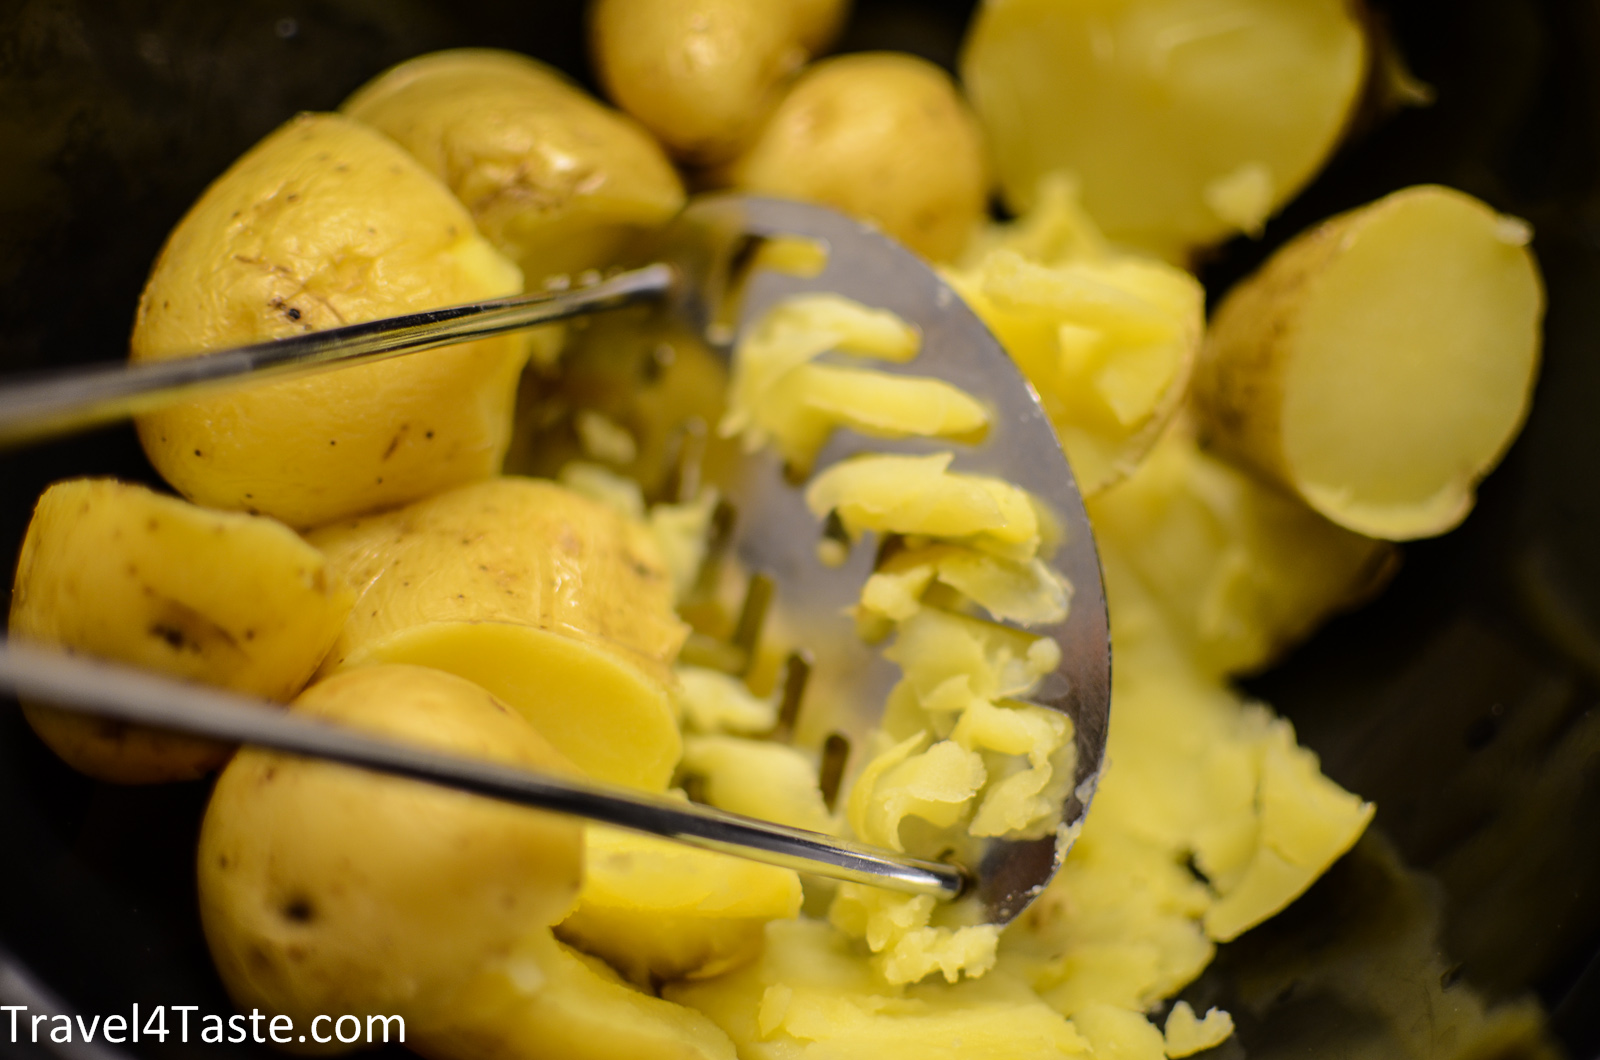
♥ 1kg potatoes, cooked
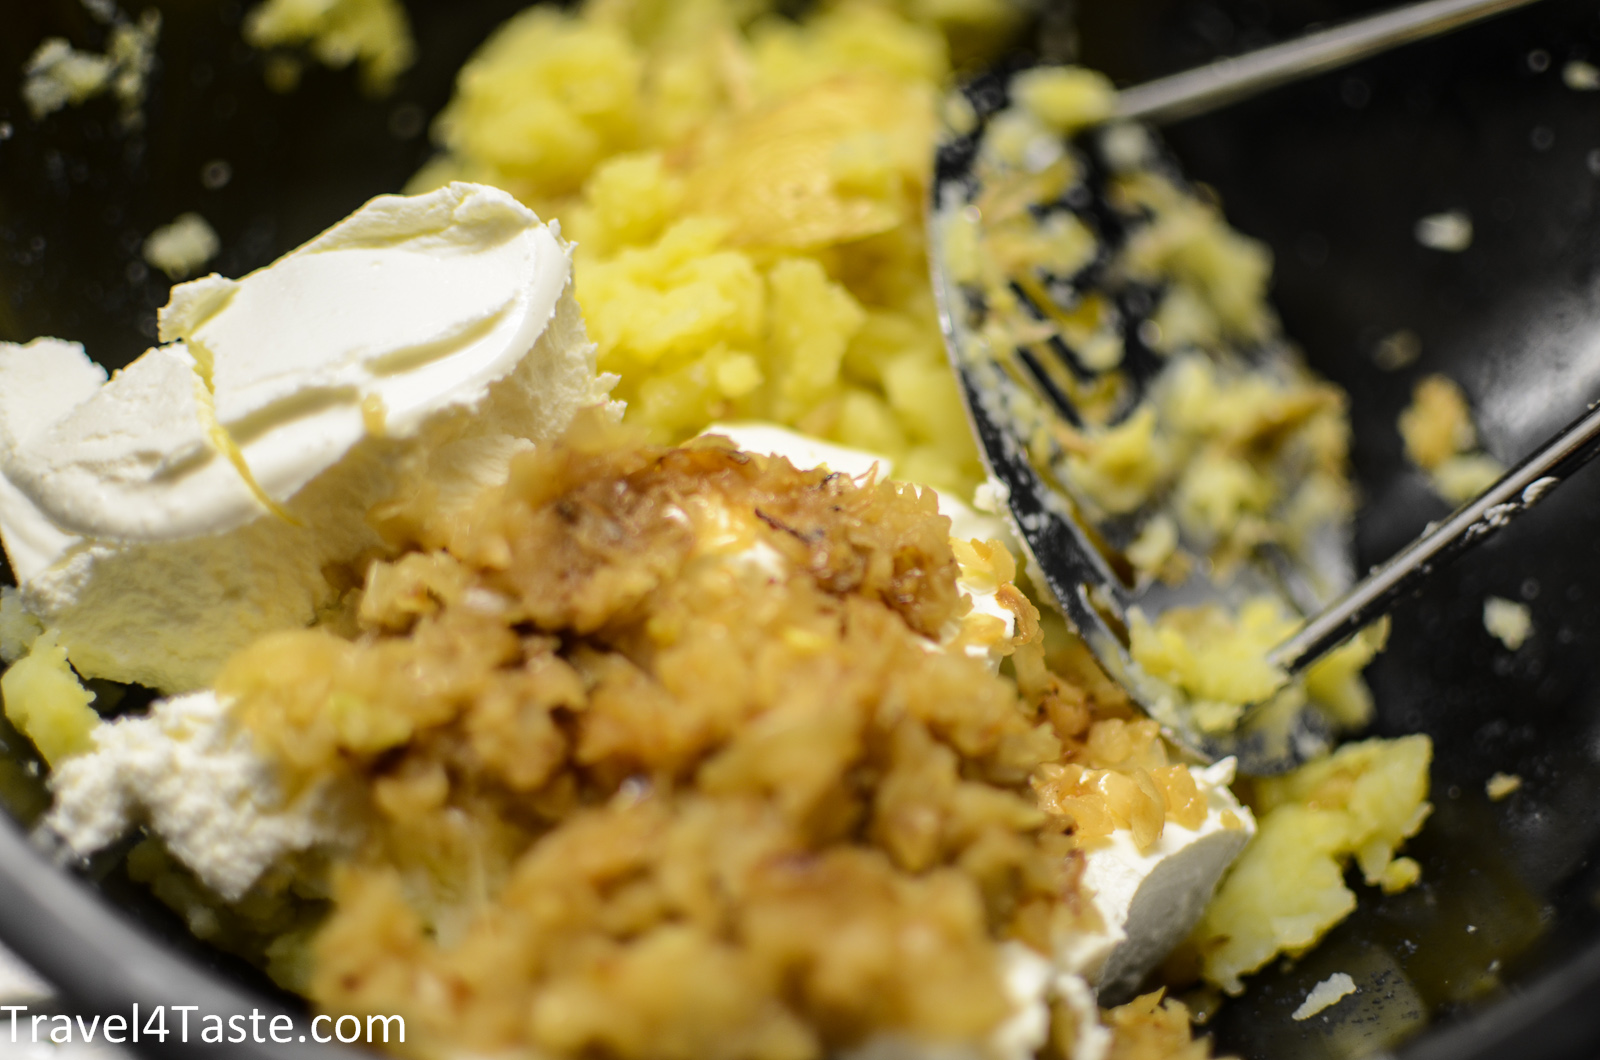
♥ 300g cream cheese
♥ 2 big onions
♥ olive oil to fry onions
♥ butter to fry pierogi (optional)
♥ 1/2 teaspoon pepper
♥ 1/2+ 1/2 teaspoon salt
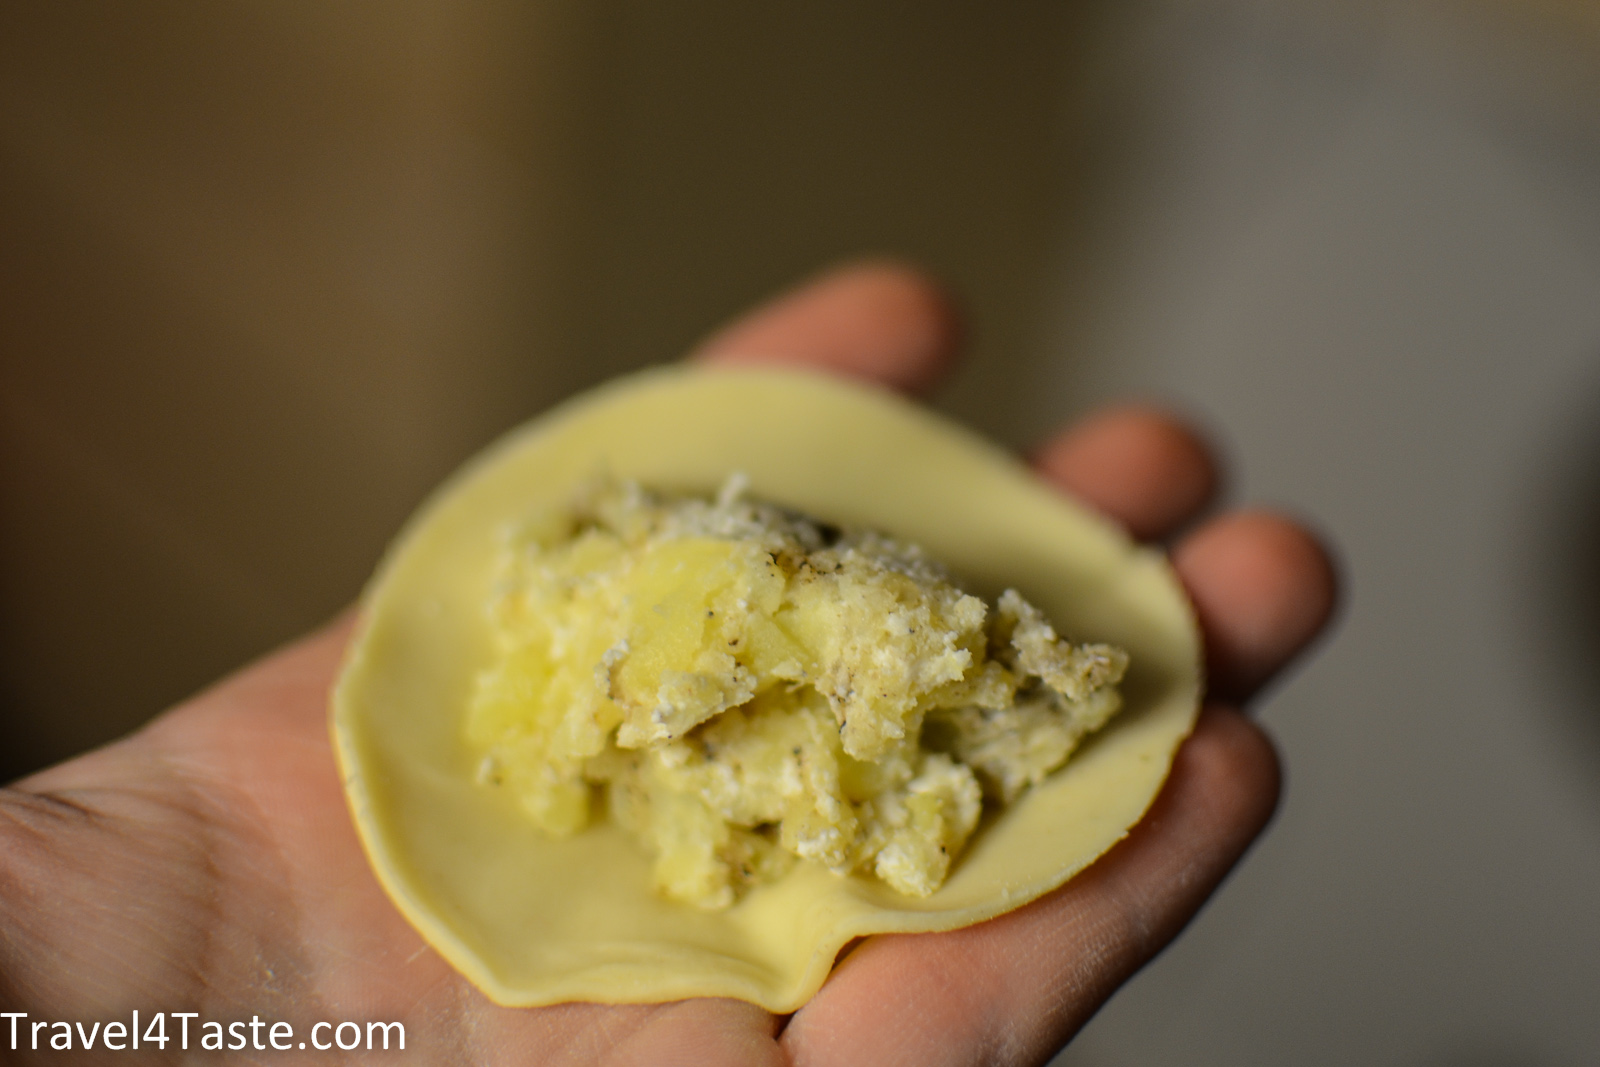
1. Match cooked potatoes (with skin) with cream cheese. Add fried onions (keep a spoon of them for later). Add pepper and salt. Stir well everything together. Your filling is ready! Put it on the side.
2. Fill a big casserole with water, salt it, and bring it to a boil. When boiling, reduce the heat.
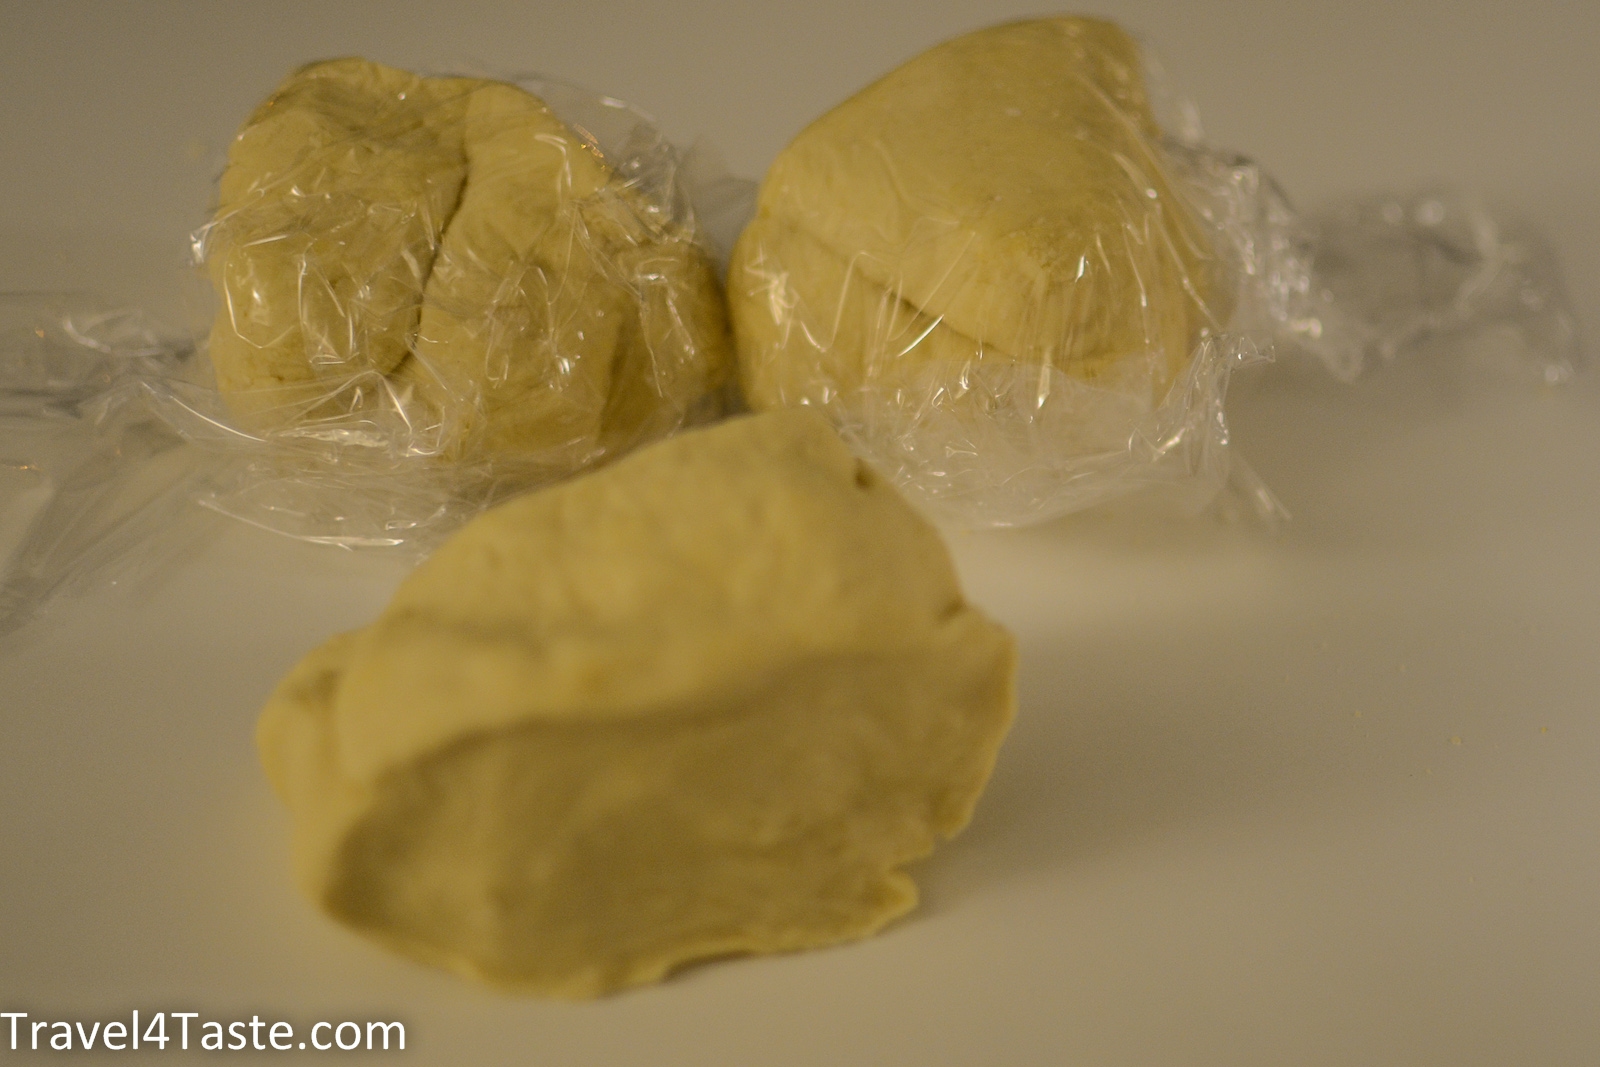
3. Knead the pierogi dough. It should be elastic but not too soft. When done, divide it into 3 parts and cover 2 of them with a plastic foil to prevent from drying (it is important because dry dough is much more difficult to work with).
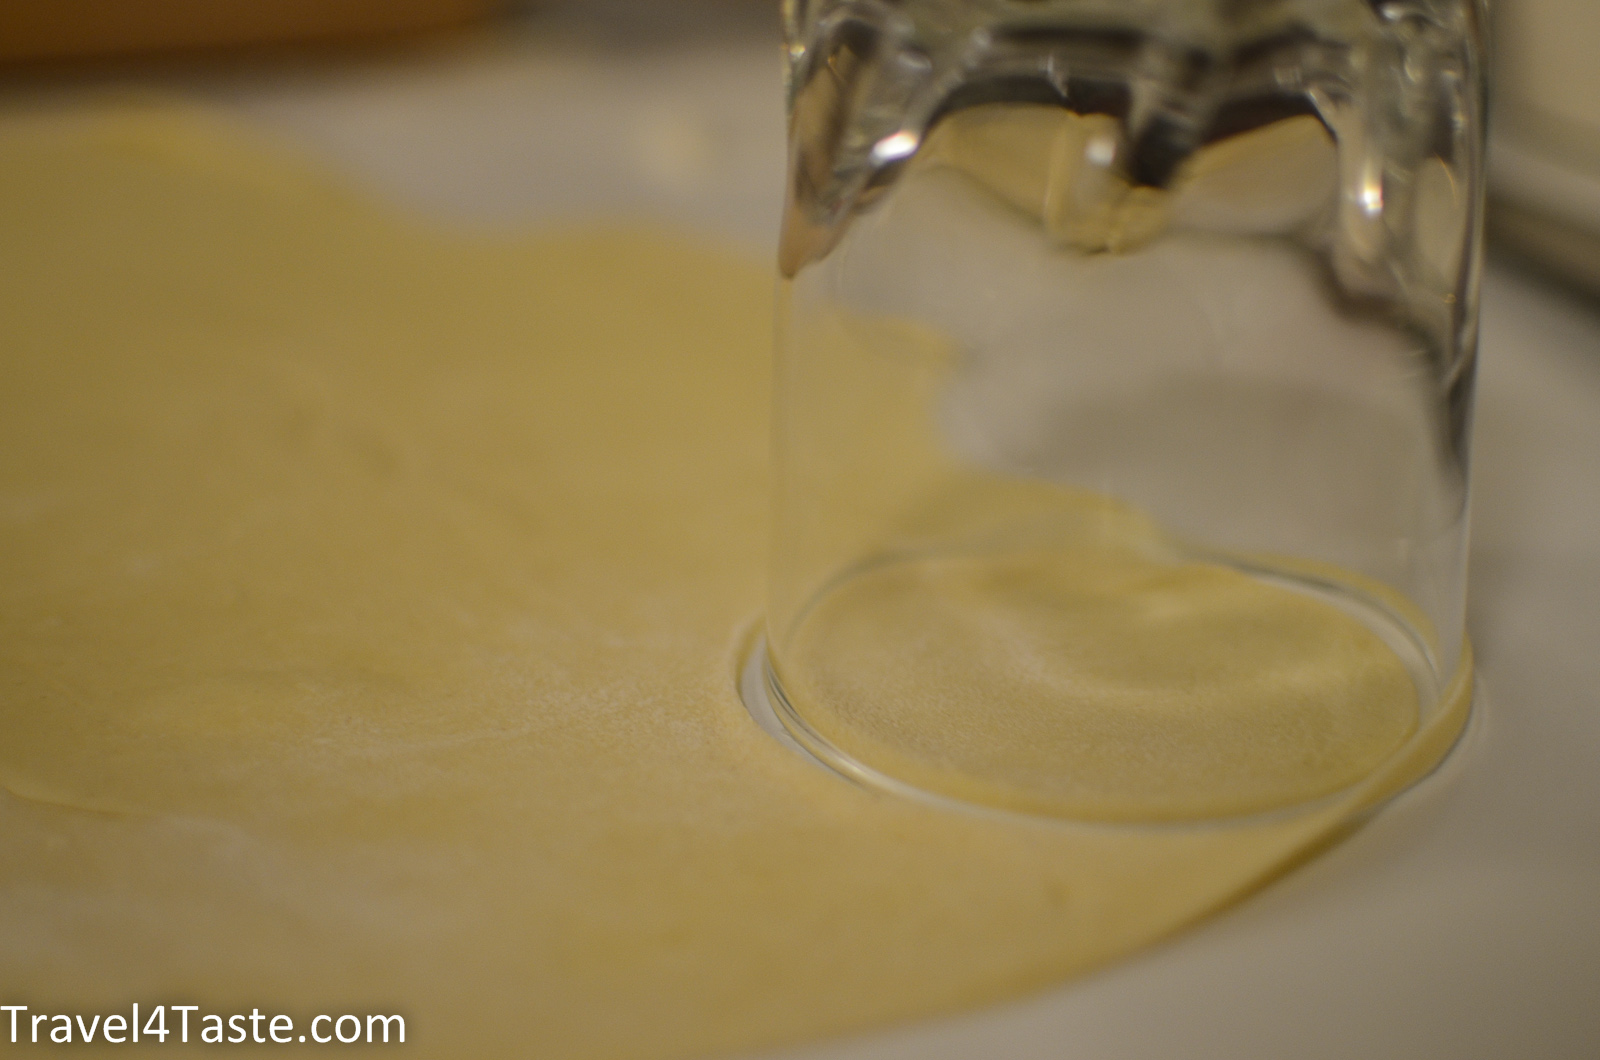
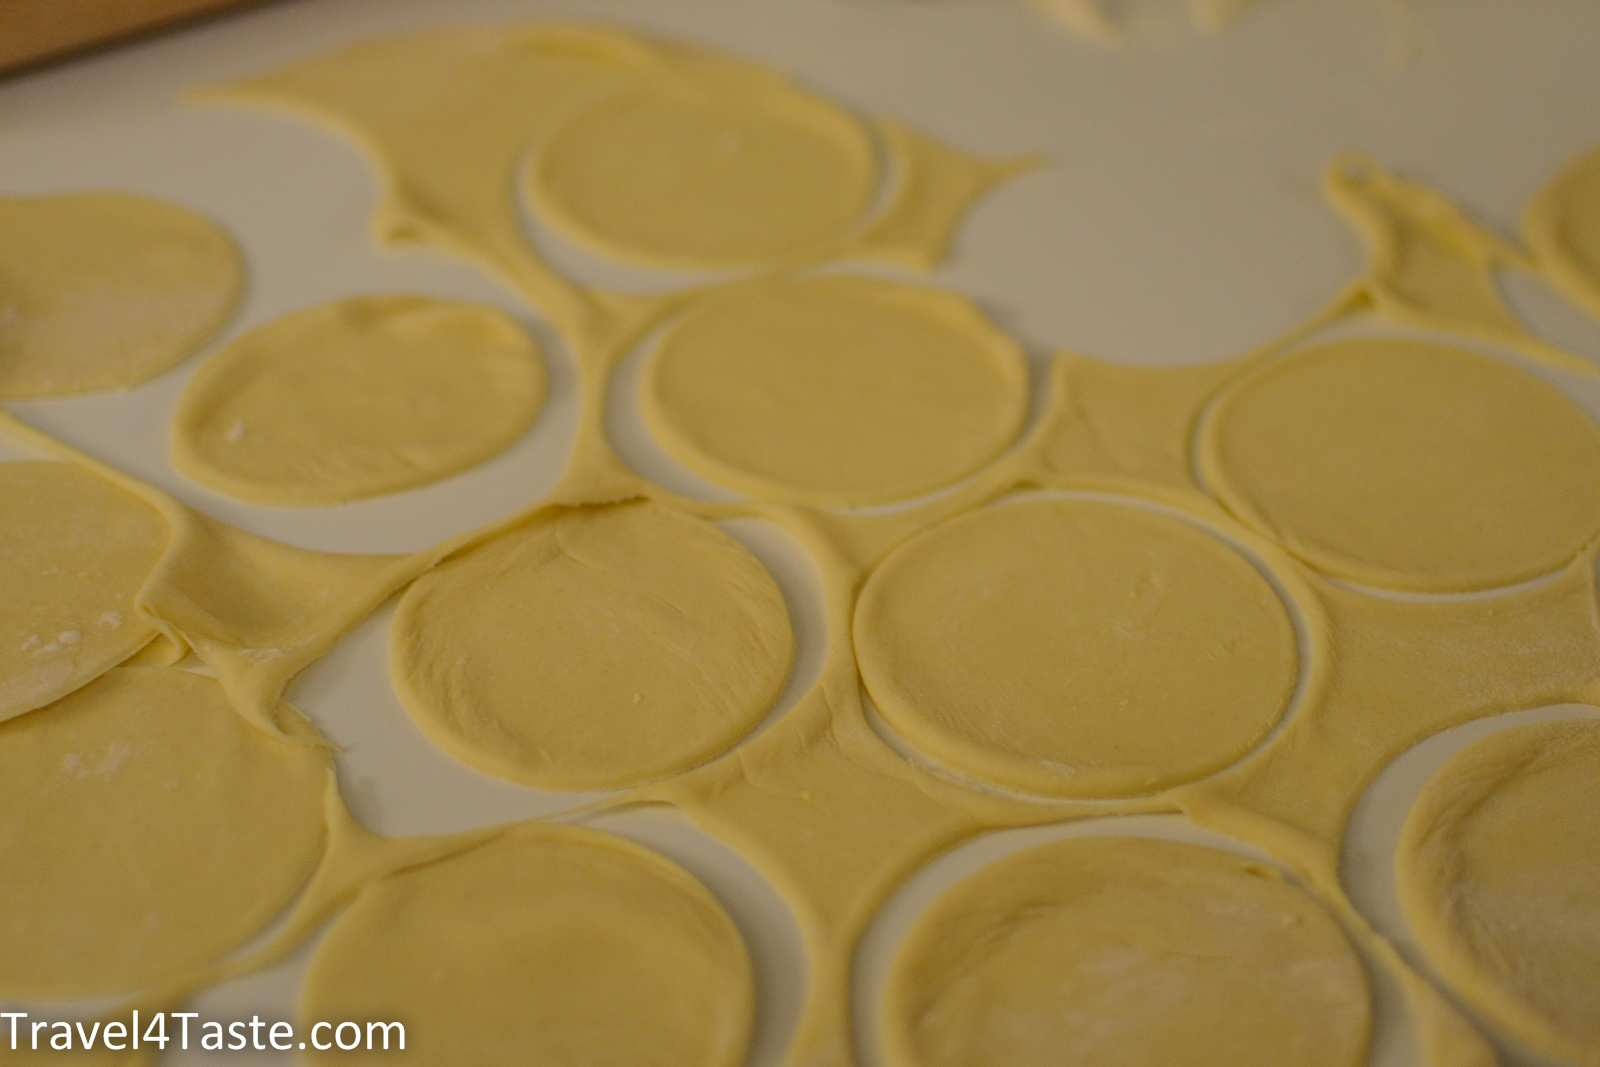
4. Roll out the dough (the thinner the better!). Using a glass, cut out the circles (mine had 7cm of diameter).
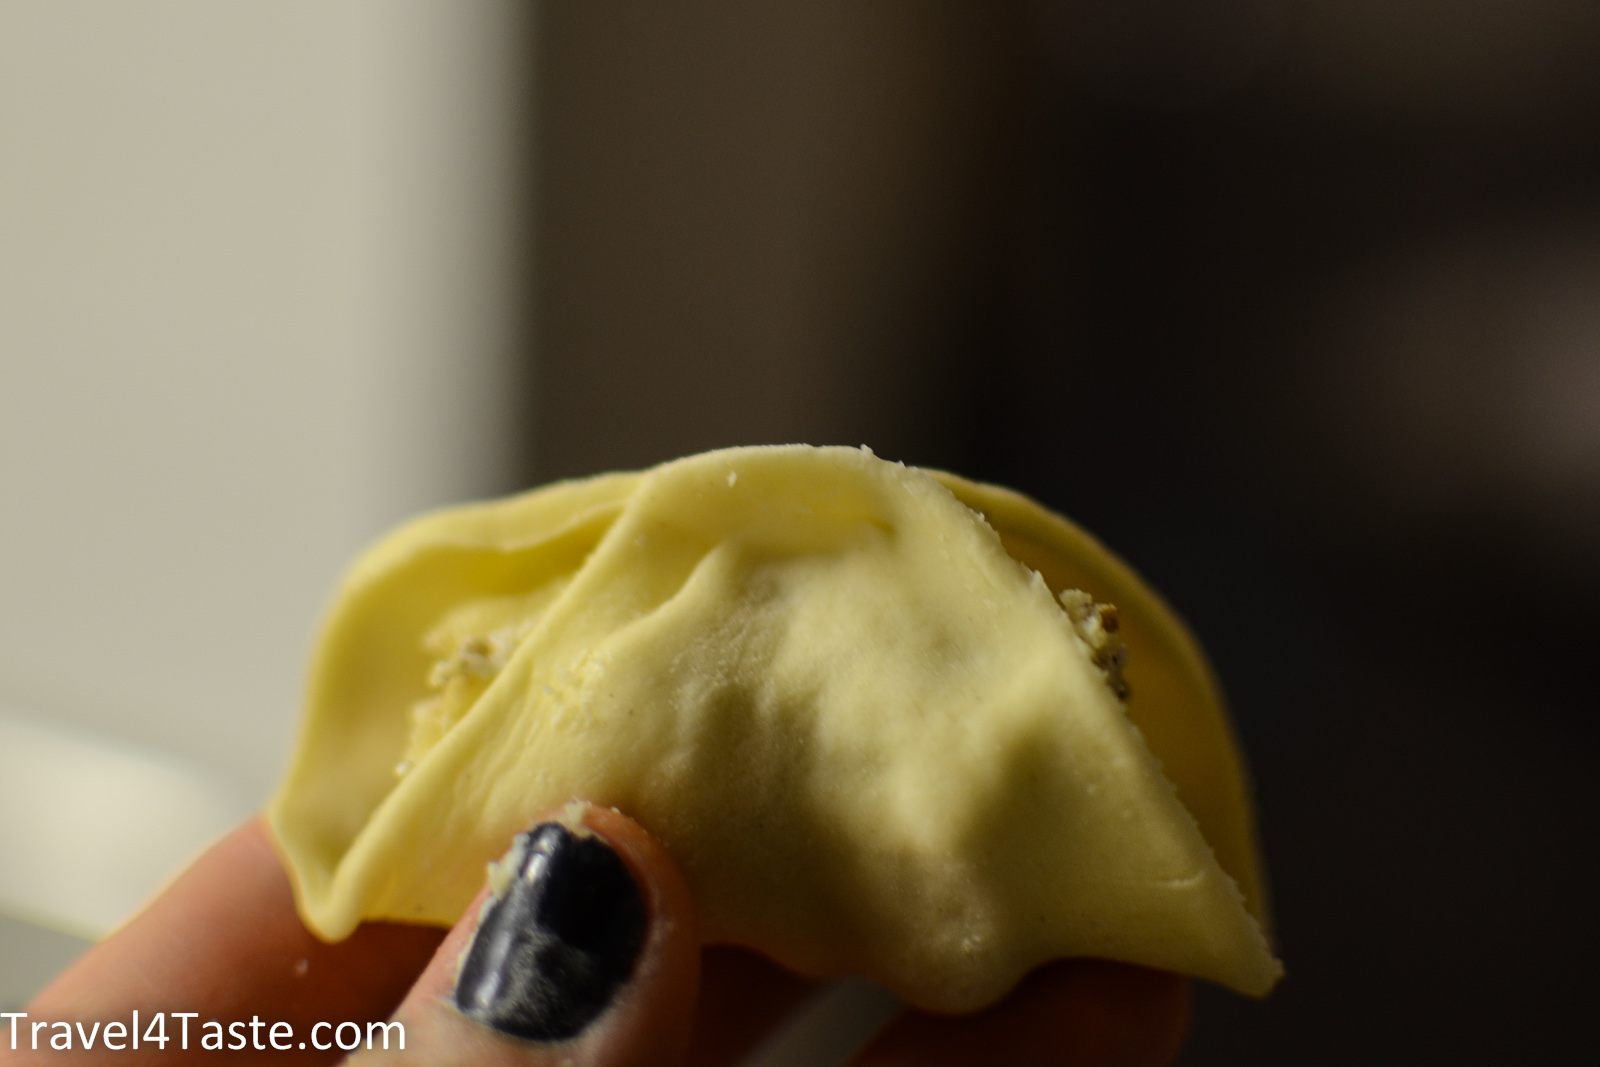
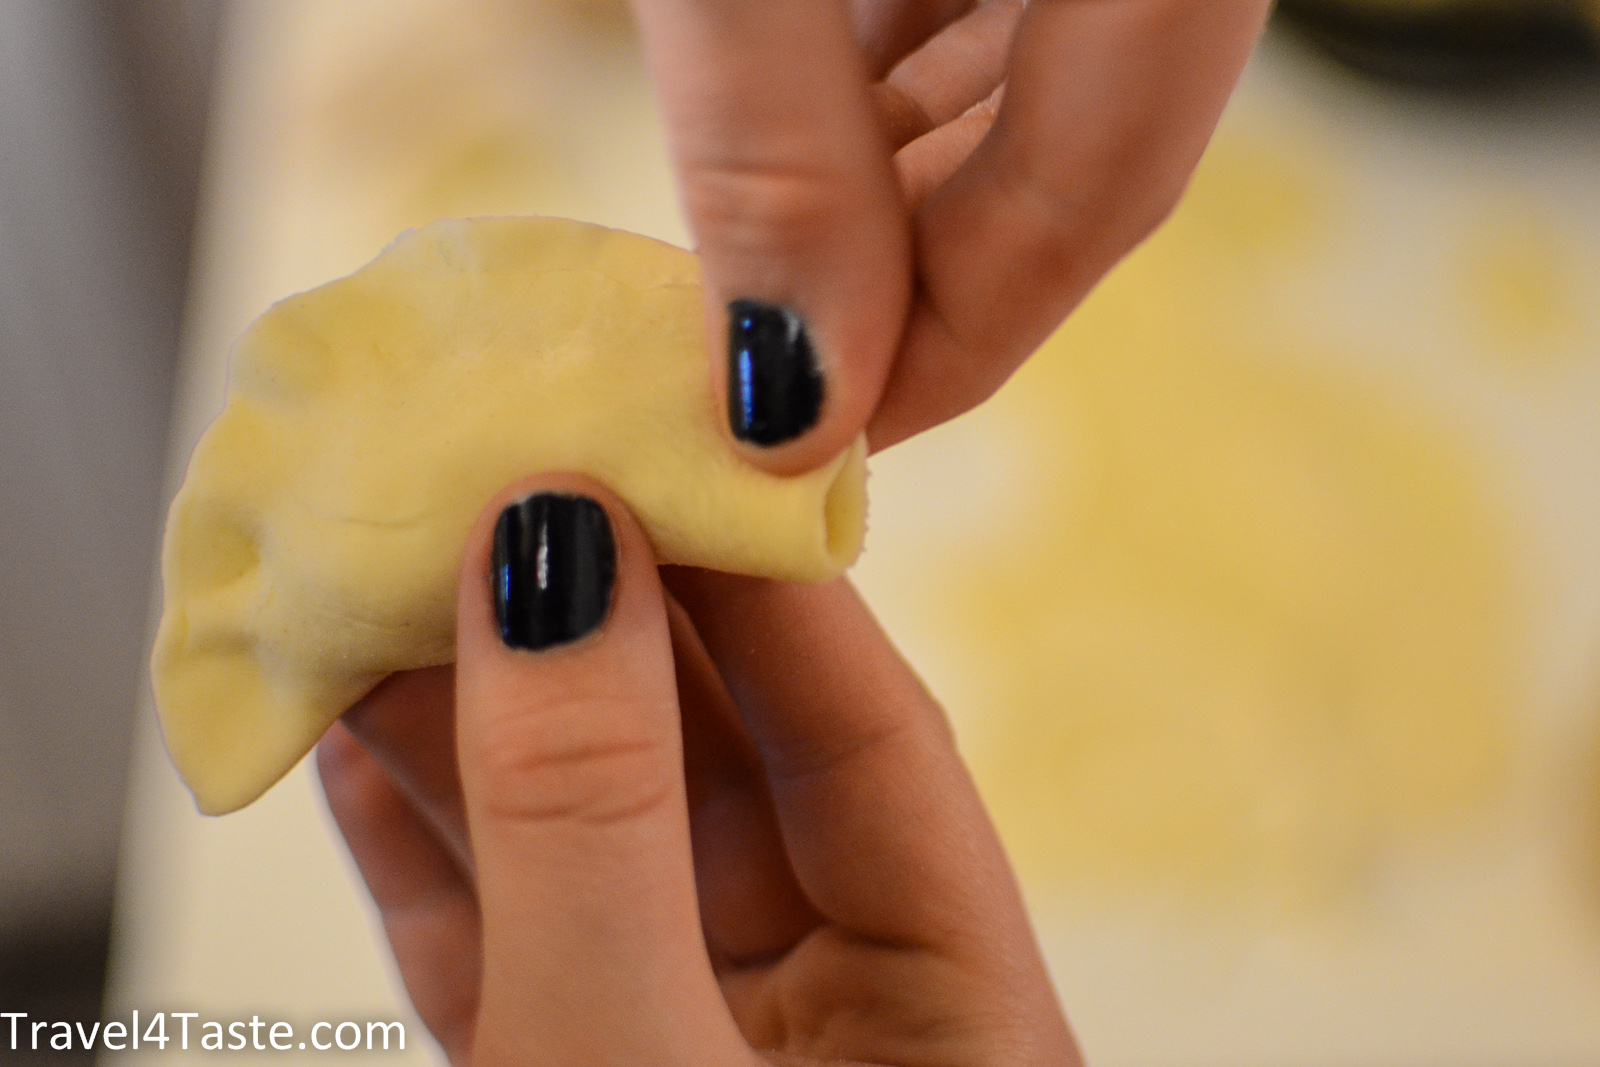
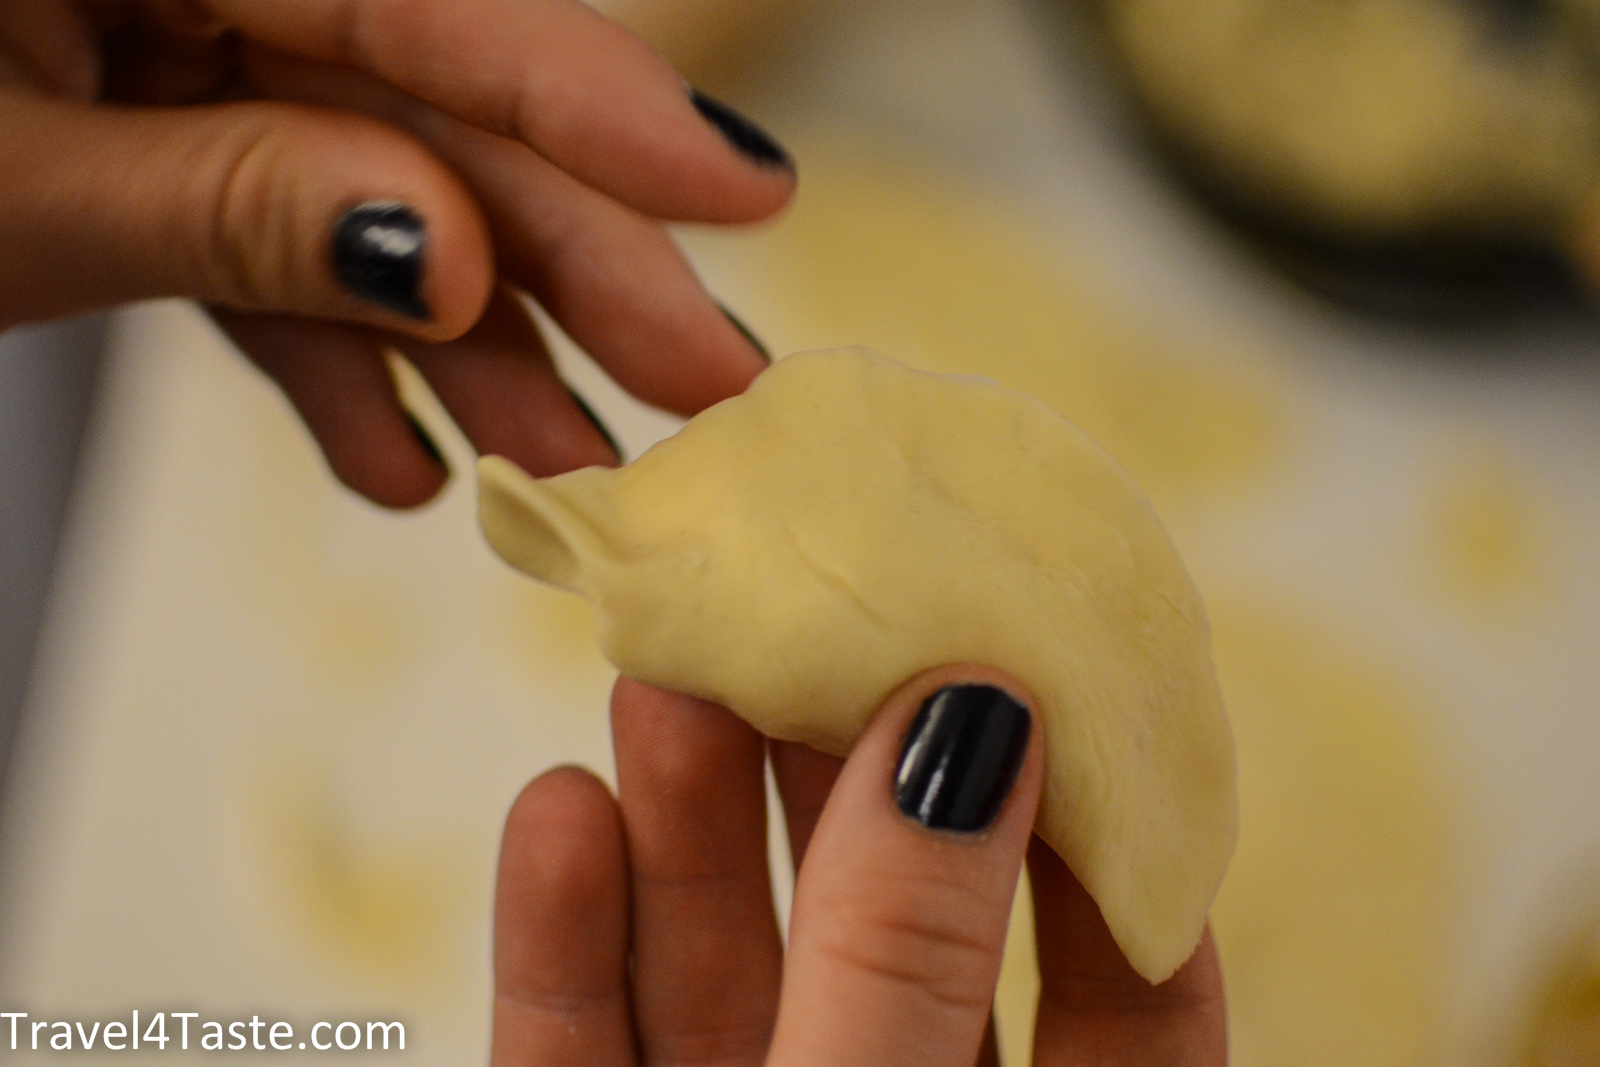
5. Now it’s time to put the filling in, and close the pierogi. More filling will make your pierogi tastier but they will be more difficult to close. This step is critical not only for the esthetics of your pierogi but also for their survival! If you won’t close your pierogi well enough the filling is going to fall out while cooking. But don’t worry, it is not very difficult but it just needs some practice.
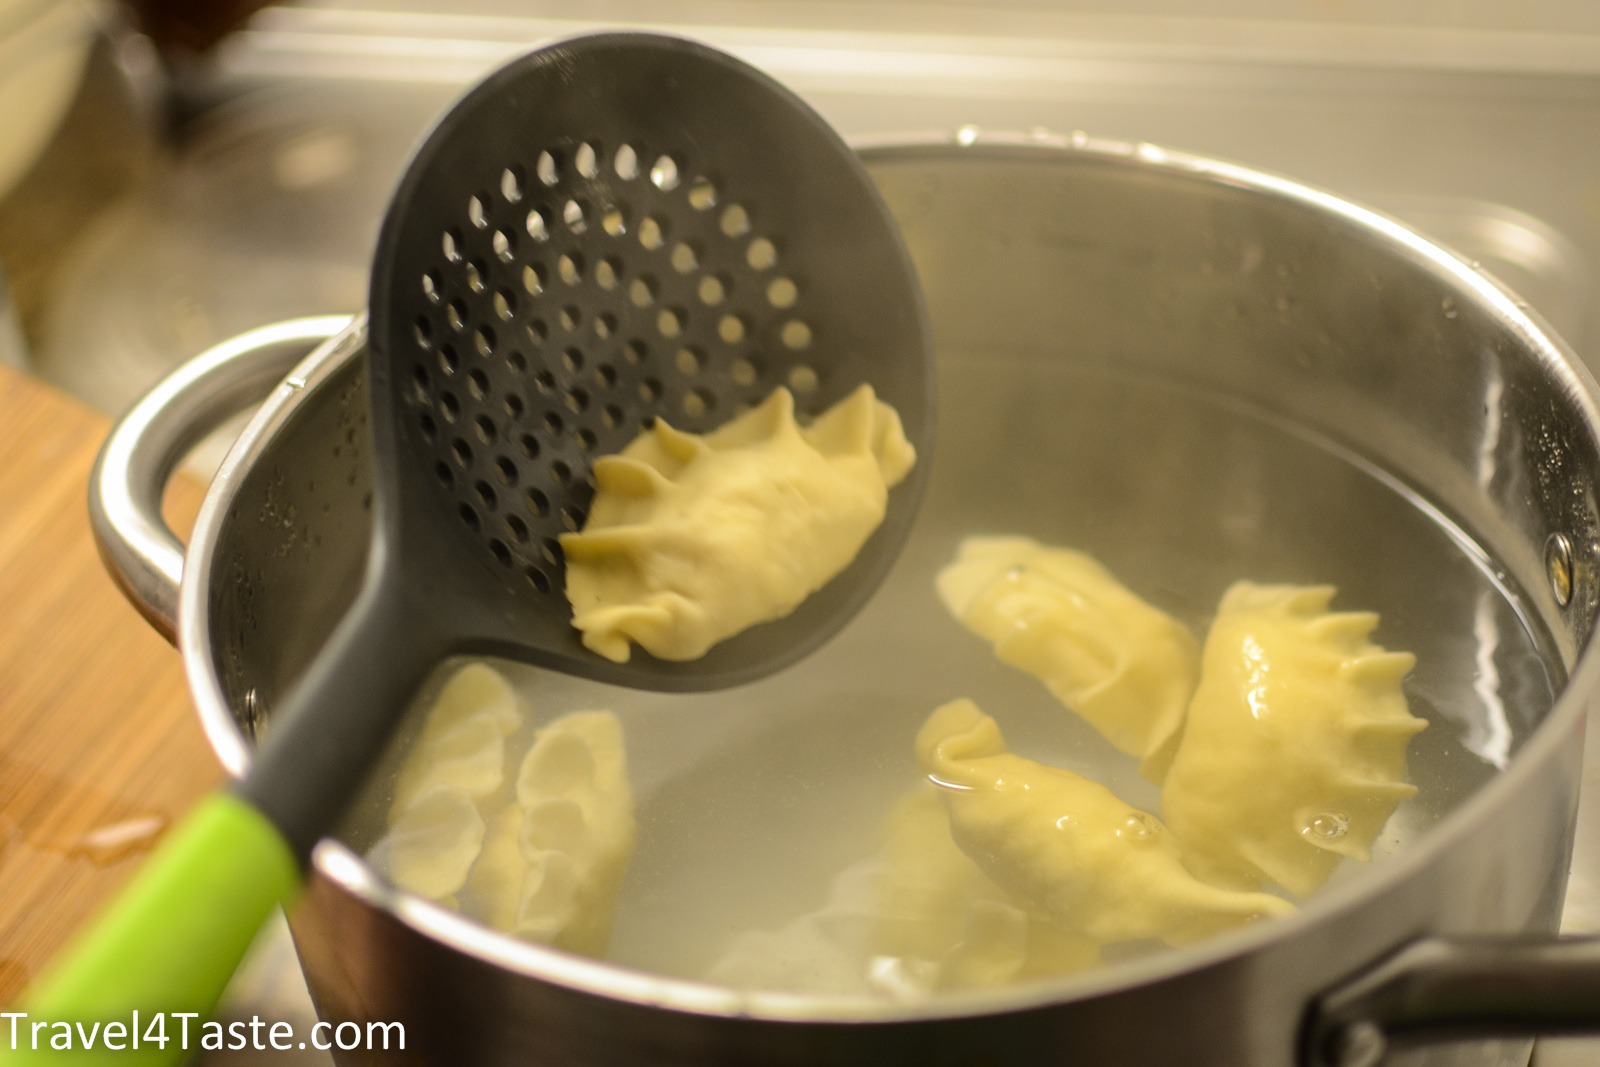
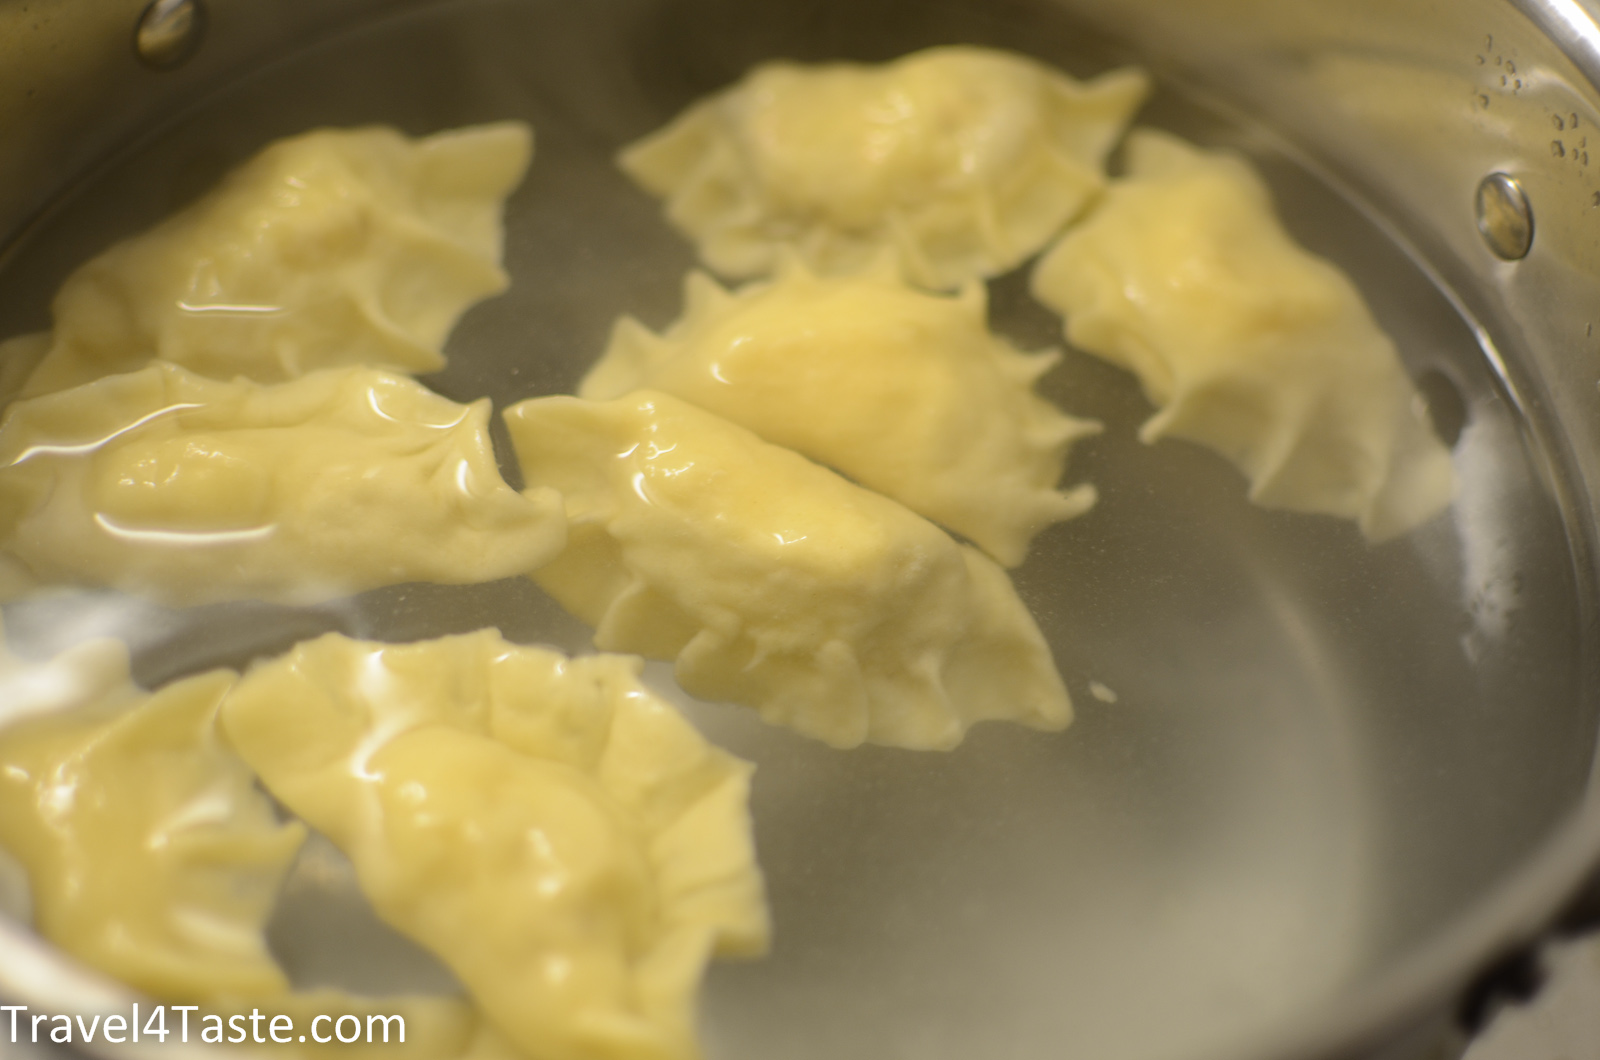
6. When the first portion is ready, put pierogi to a simmering water. It should not boil too strongly because that could cause the pierogi to open. The quantity of pierogi you can put in at once depends on the size of your casserole, as there should be only one layer of pierogi.
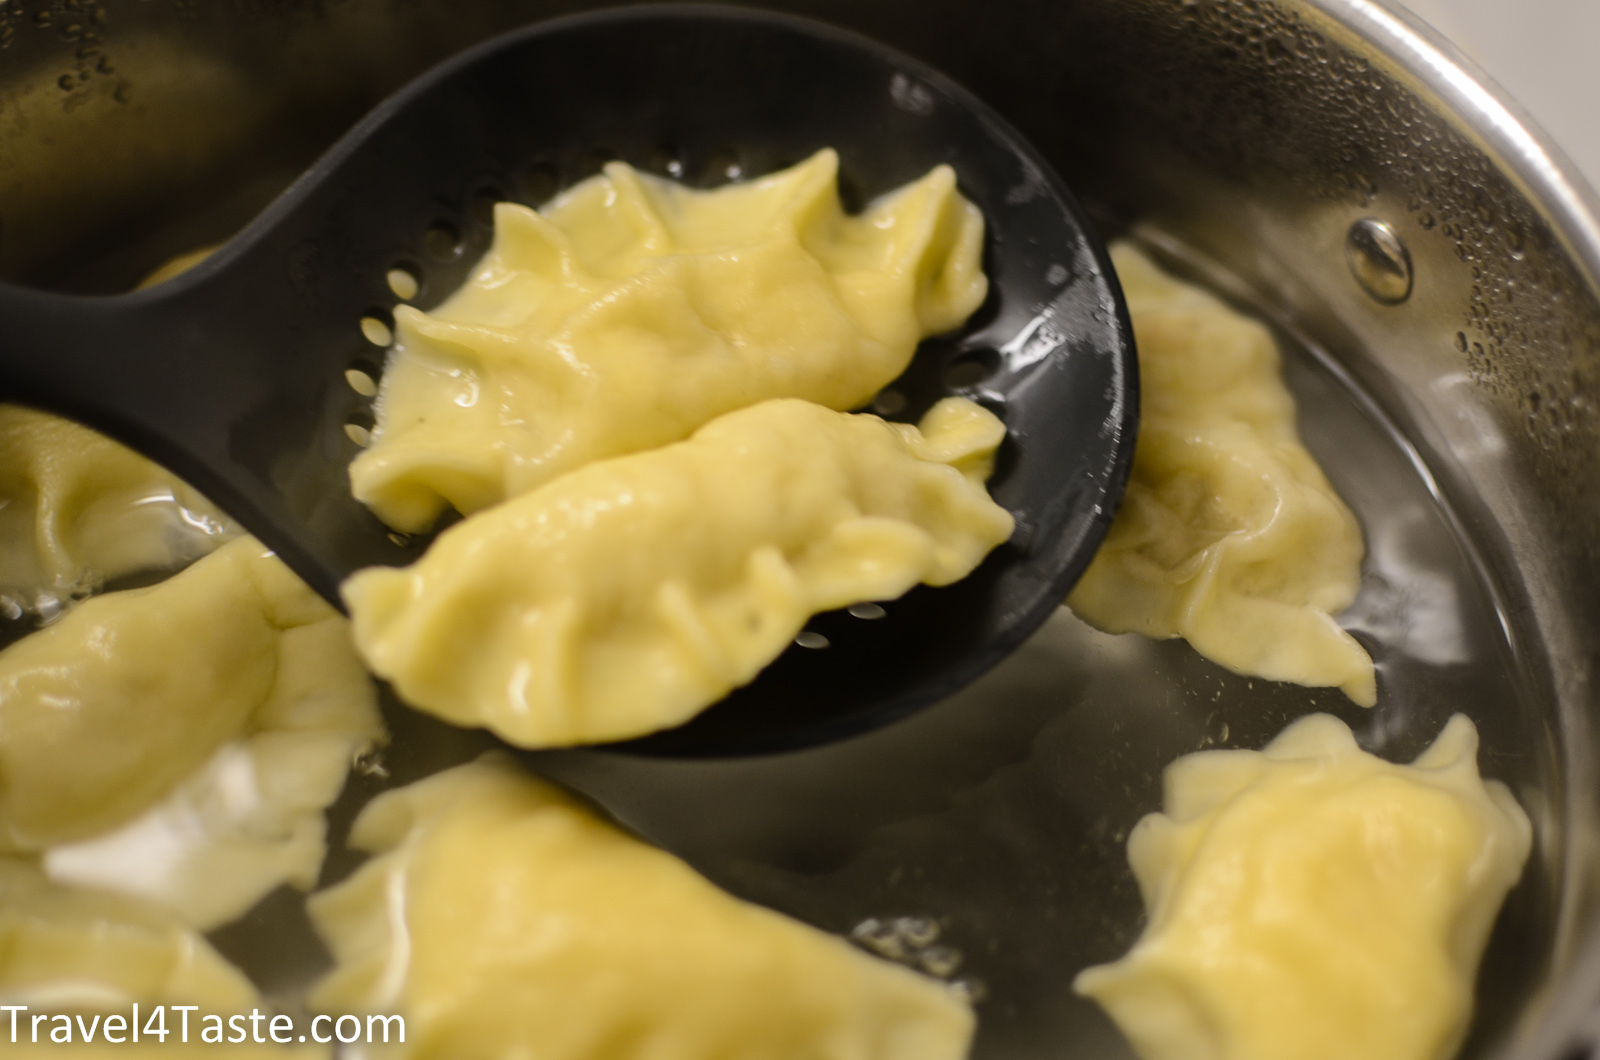
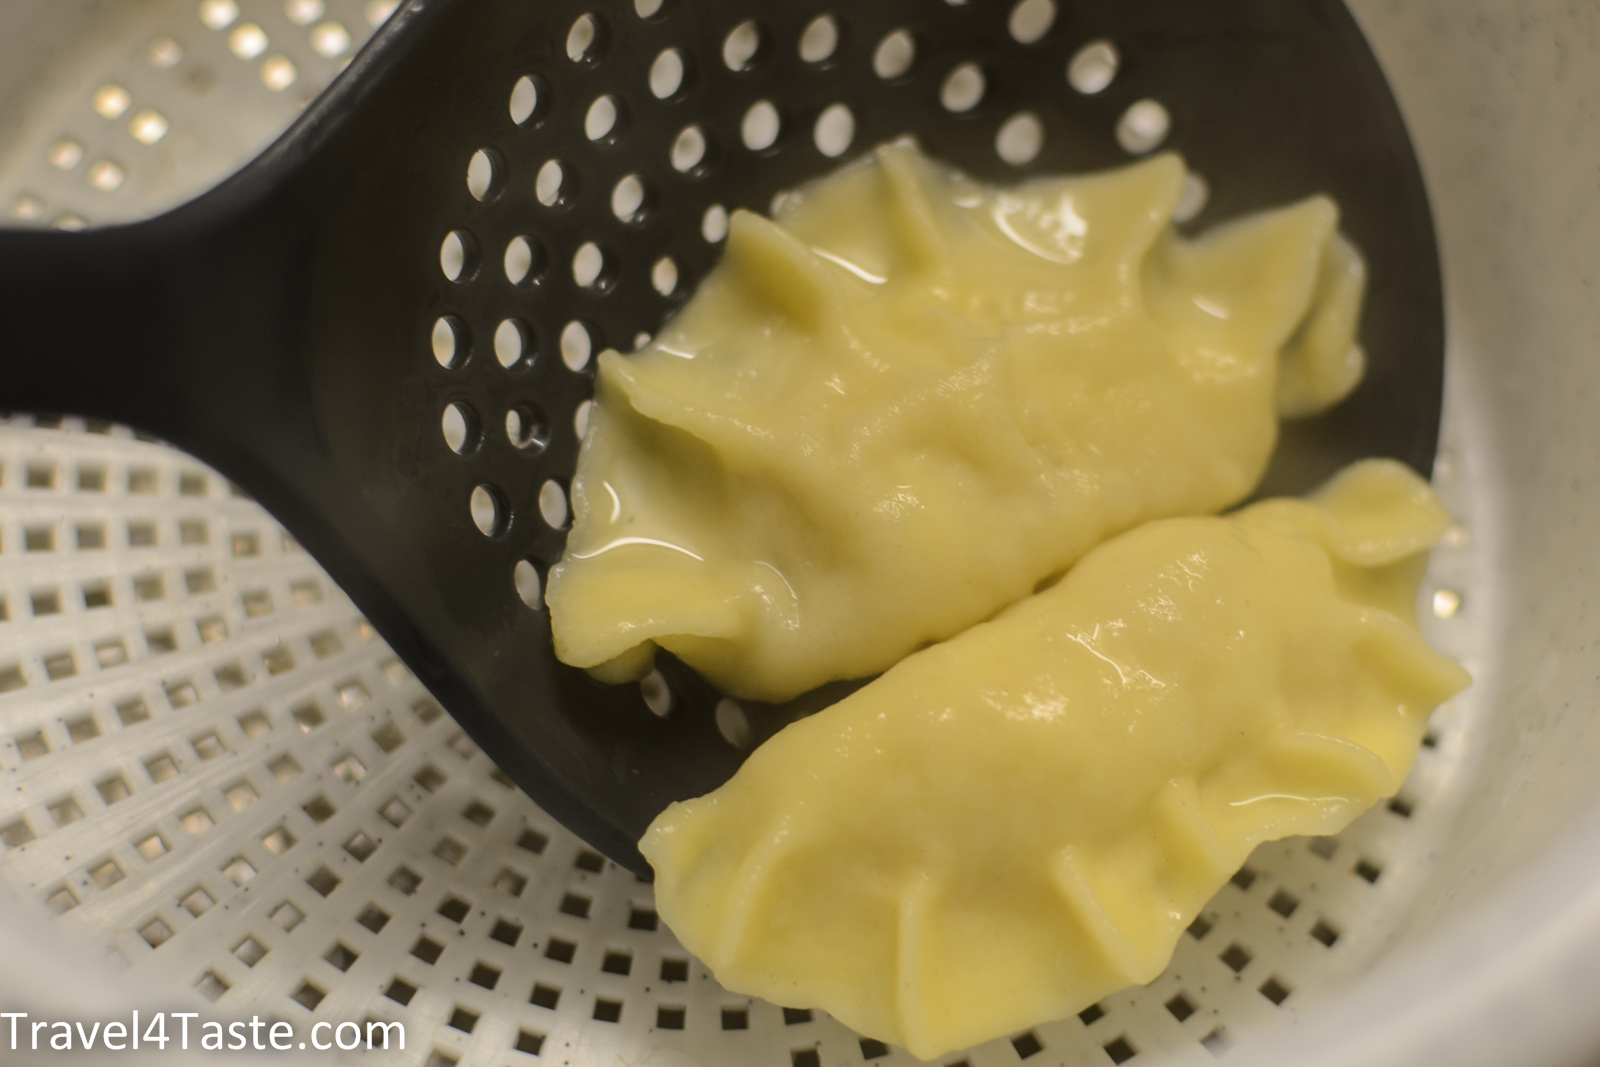
7. As soon as the pierogi get on the surface they need additional 5 min of cooking. After that time, put them out in the way to get rid of all the water.
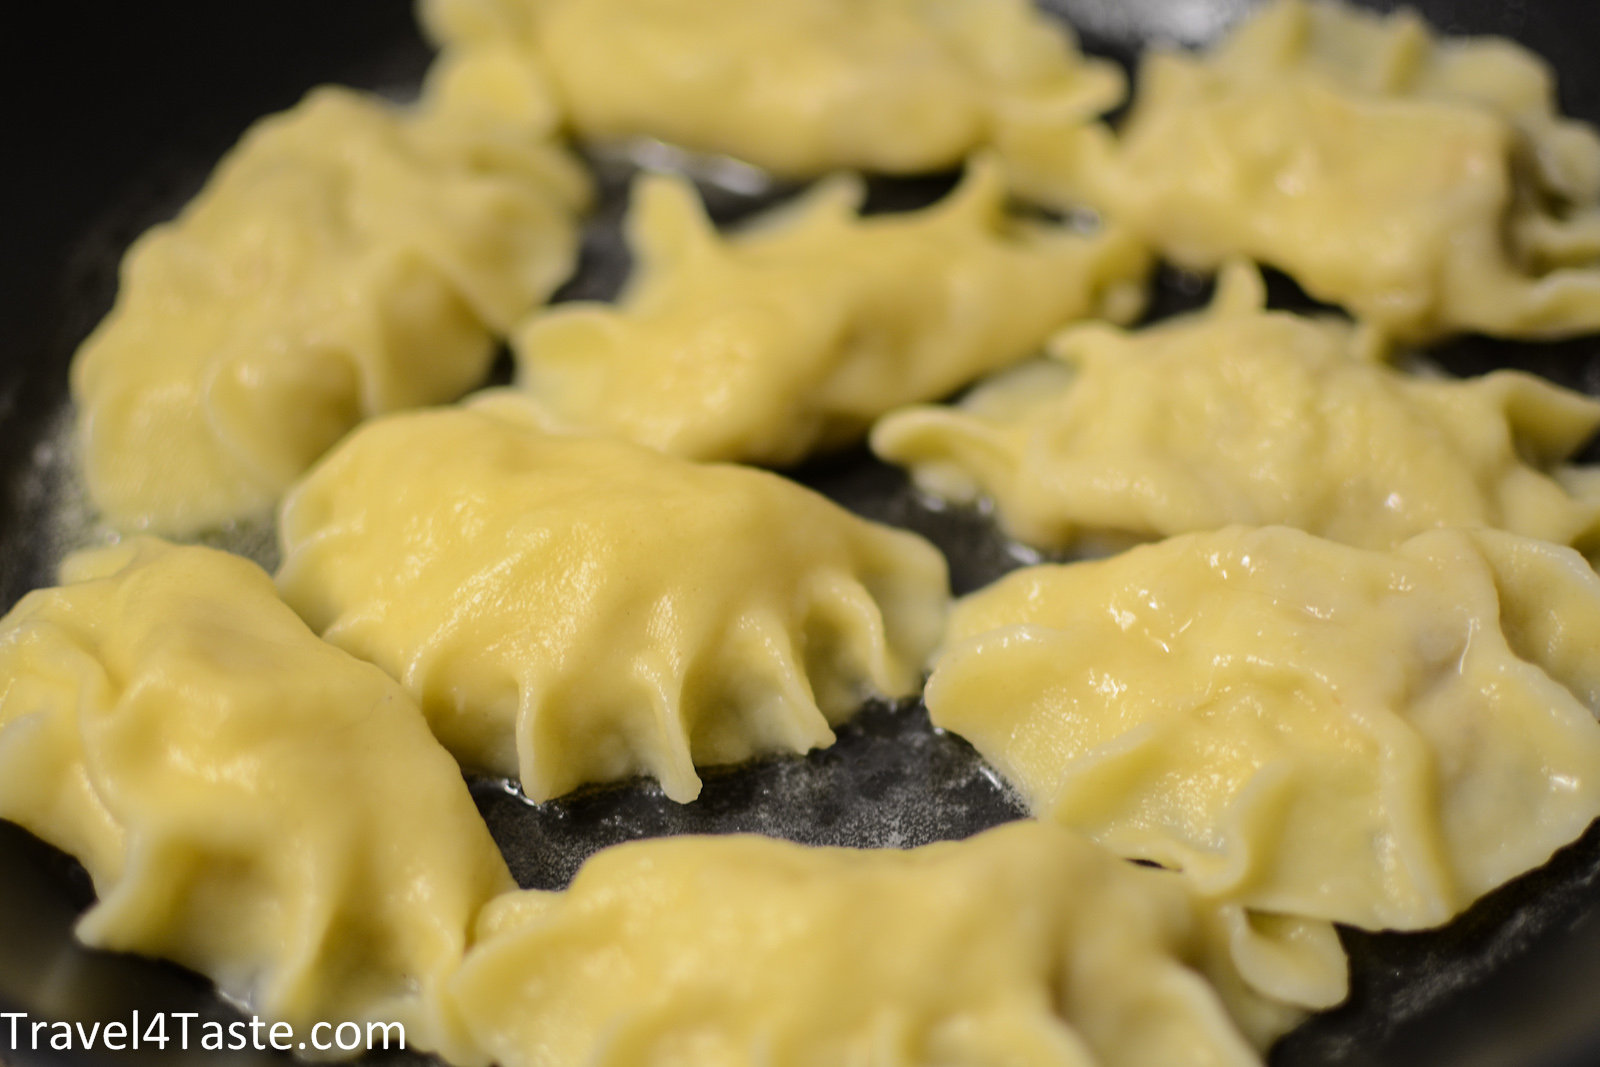
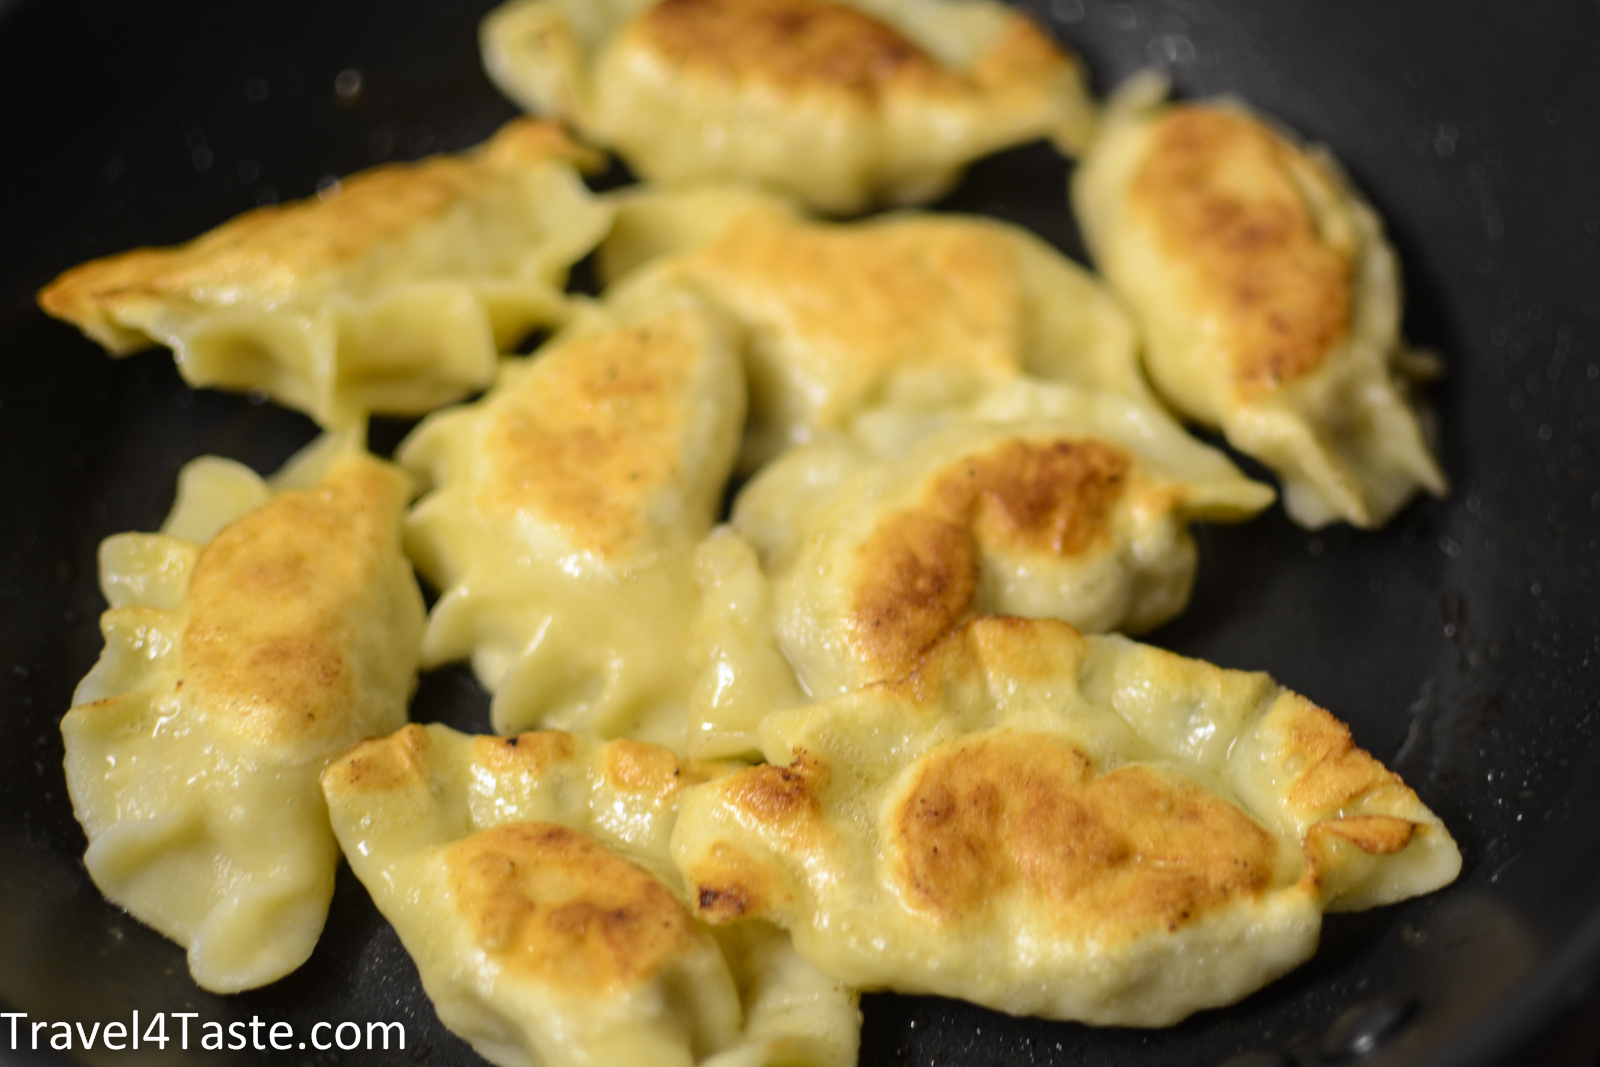
8. Now you can fry them shortly (just to give them some golden color) on a pan with some oil/butter and serve with the fried onions. Enjoy! 🙂