Pierogi: Polish Dumplings (VIDEO)
Pierogi are probably one of the most beloved Polish specialties. Everyone who visits Poland has to try them.
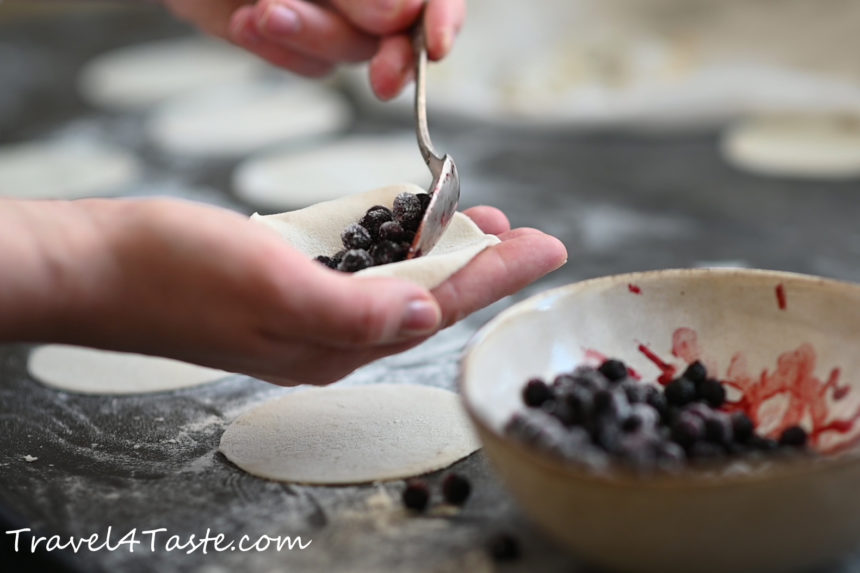
In the VIDEO below I show you two of my favorite Pierogi types: filled with cottage cheese, carmelized onion and mashed potatoes and the simplest of all: Pierogi with Blueberries
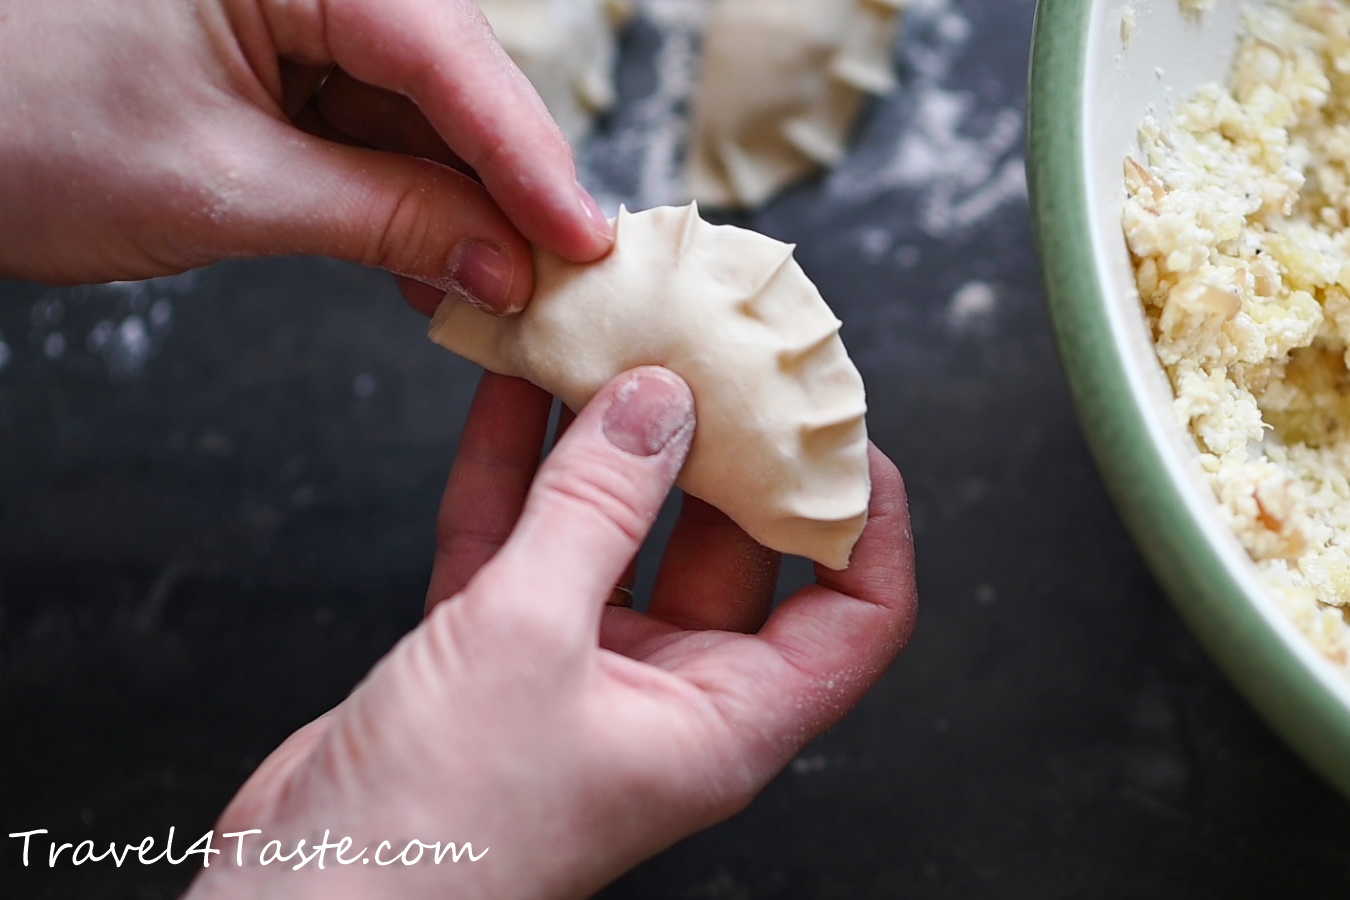
When I was a little girl, I loved to help my Polish grandma in the kitchen. Doing Pierogi was especially fun, because I could train in making the pretty patterns on their edges!
Preparing Pierogi can be a real group work! You can easy divide the tasks between 4-5 people. One can be responsible for rolling out the dough (you need some muscles for that because the thinner the better!) and cutting out the circles. Others can put the filling in and form the Pierogi, while another can be responsible for cooking. Lots of fun ♥
INGREDIENTS:
dough:
♥ 500g flour (start with 400g)
♥ 1 cup (250ml) water
♥ 1 tablespoon oil (canola or olive oil)
♥ 1/2 teaspoon salt
Potato & cottage cheese filling:
♥ 750g potatoes
♥ 300g polish cottage cheese (“twarog”) or riccota + 2 tablespoons sour cream or philadelphia
♥ 2 onions
♥ salt and pepper to taste
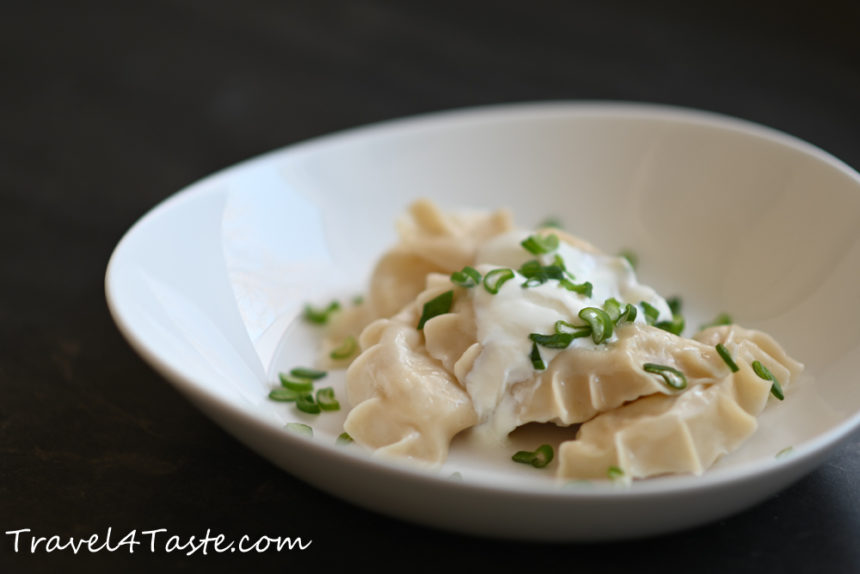
serve with: greek yogurt, chives or spring onions and pepper
Blueberry Pierogi:
♥ blueberries (frozen or fresh)
serve with: sugar, cinnamon and butter or cream & maple syrup
- If you are preparing Pierogi with cottage cheese start by cooking the potatoes in salted water until soft.
- In a meantime prepare the dough. It needs to rest for 30 minutes before we can use it. Start by combining 2/3 of the flour with water, salt and oil. Add extra flour if needed. After 8-10 minutes of kneading it should be soft and elastic but not sticky anymore. Cover and let it rest at room temperature for 30min. After this time the dough will be more “relaxed” (less springy).
- Mash cooked potatoes with cottage cheese and carmelised onion. Add pepper and salt to taste. Stir everything together. Your filling is ready!
- Divide the rested dough into three parts and cover two of them to prevent from drying (it is important because dry dough is much more difficult to work with). Roll out the dough (the thinner the better!). Using a glass, cut out the circles (7-10cm of diameter).
- Let’s fill the Pierogi. This step is critical not only for the esthetics of your pierogi but also for their survival! More filling will make your pierogi tastier but they will be more difficult to seal (not well sealed Pierogi will loose their filling while cooking). But don’t worry, the method to seal your pierogi isn’t difficult- check out my VIDEO for detailed instructions.
- Fill a big casserole with water, salt it, and bring it to a boil. When boiling, reduce the heat.
- Put pierogi into simmering water. It should not boil too strongly because that could cause the pierogi to open. The quantity of pierogi you can put in at once depends on the size of your casserole, as there should be only one layer of pierogi.
- As soon as the pierogi get to the surface they need additional 3 min of cooking. Once cooked it is best to put them out on a plate smeard with some oil or butter so that they don’t stick.
- Iserve my savory Pierogi with greek yogurt, chives and black pepper. Pierogi with blueberries on the other hand are the best with melted butter, sugar and cinamon ♥