Perfect Macarons (step by step)

These almond meringues filled with sweet cream or jam taste like heaven!!!
After trying to do them myself over 10 times without any satisfactory effect, I understood why they are so expensive… I was seriously suspecting there has to be a secret ingredient that make the macaron’s “foot” grow.
I decided not to give up just yet and take it as a challenging laboratory experiment. First, I did some research online. I made a list of things that could be crucial to succeed macarons (exact weight of ingredients, texture of batter, oven temperature etc.). I even bought a scale! 🙂 Then, I measured all ingredients very precisely (and wrote everything down so in case they magically work out this time, I would be able to reproduce it!). I used my boyfriend’s multimeter to be able to see and control the exact temperature in my very simple oven.
I thought it was a dream when after 1:30min in the oven their “foots” started to grow! I think I even had some tears in my eyes. 😛
PLEASE visit our Facebook page and LIKE us to stay in touch!
(Please LEAVE A COMMENT if you feel like ![]() )
)
Proportions:
♥ 1 egg white (30g, at room temperature)
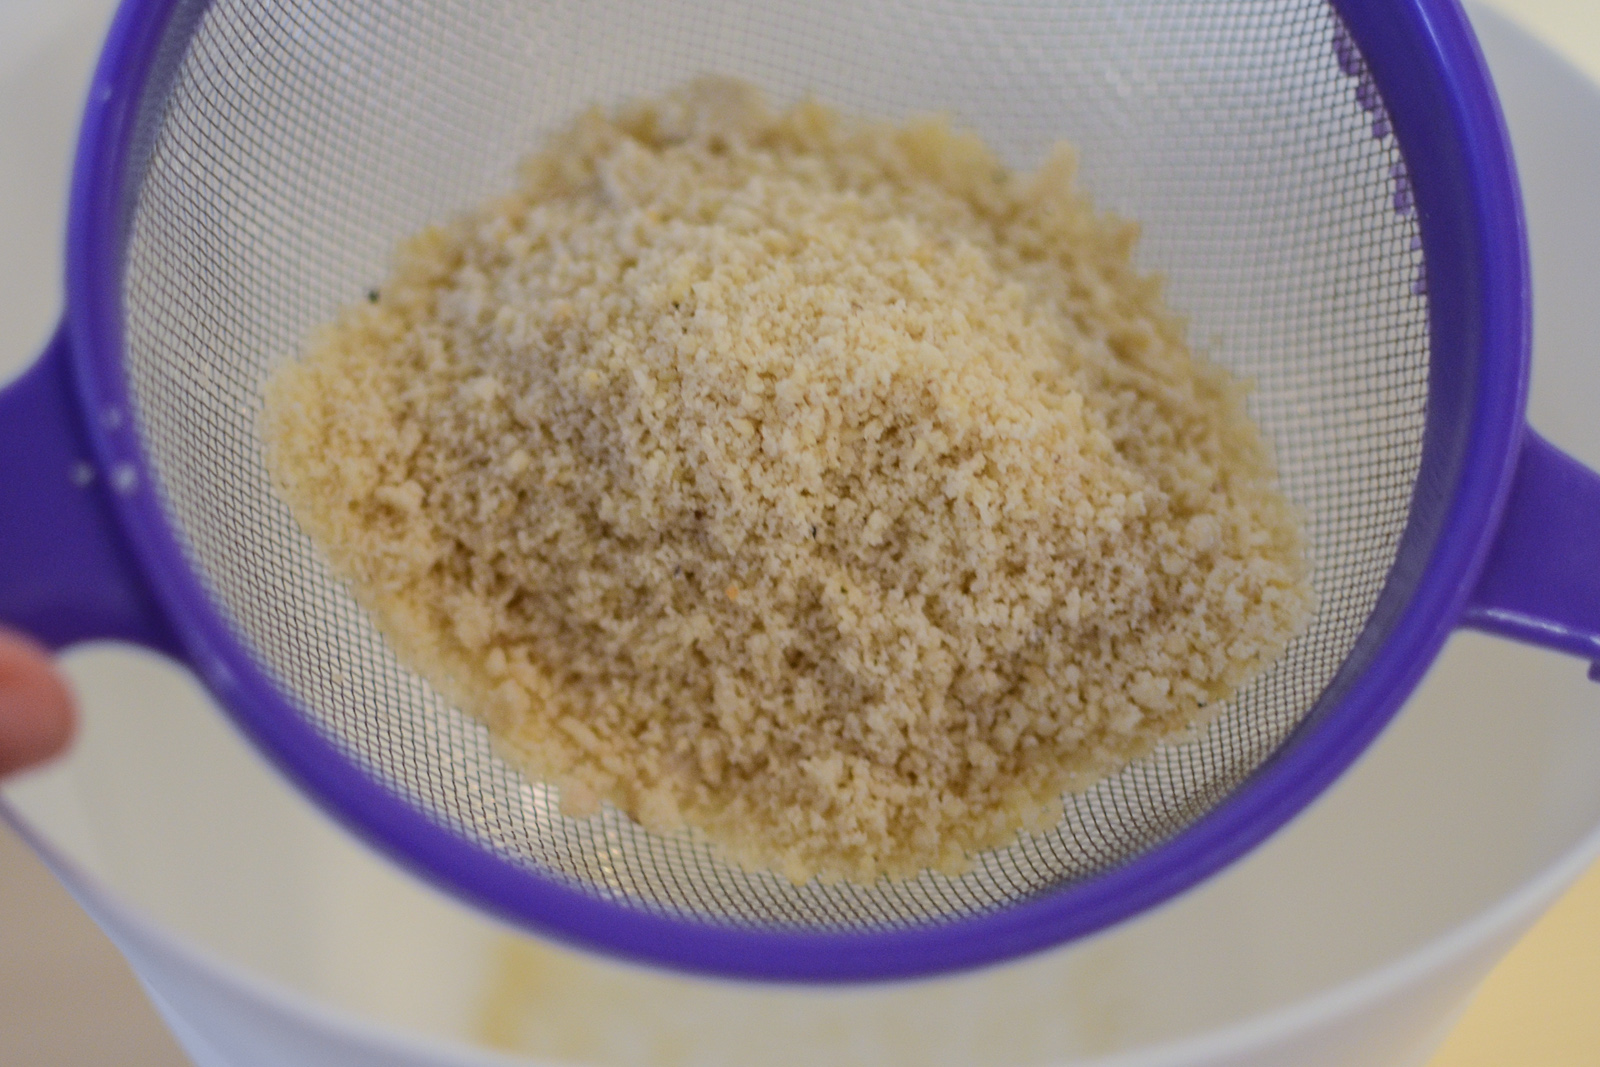
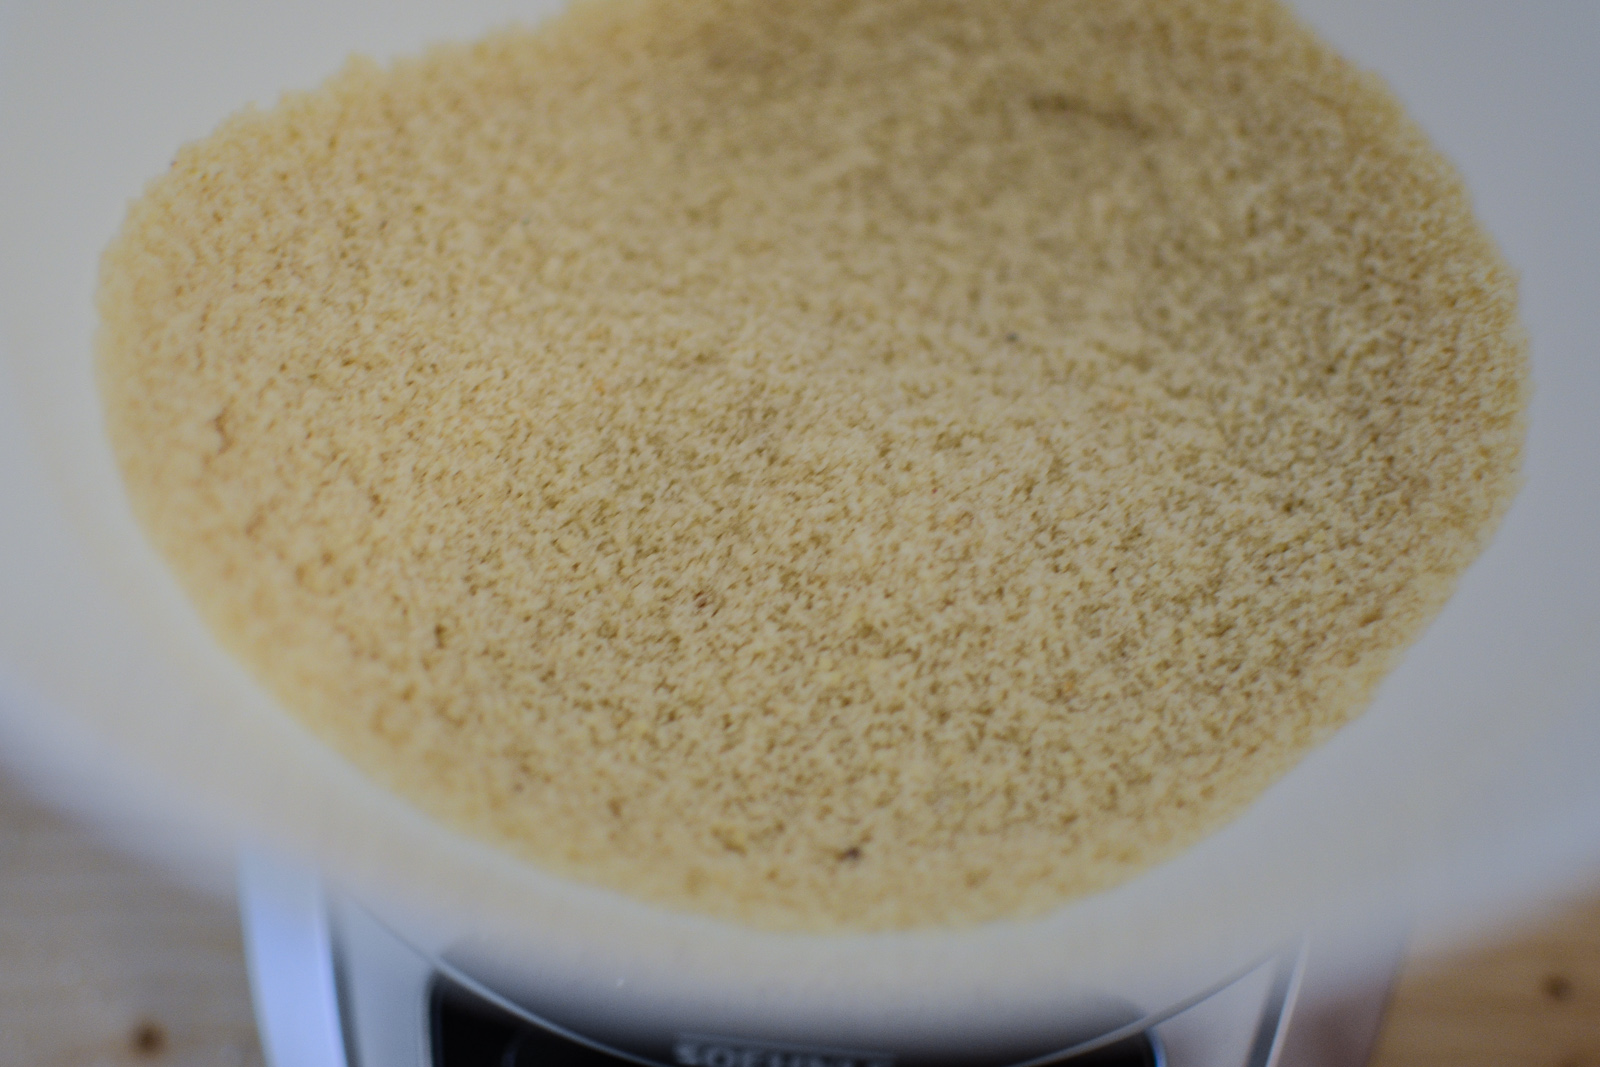
♥ 40g of almond powder (weight after sieving!)
♥ 70g of icing sugar
♥ 1-2 drops of colorant in gel (liquid and not in powder) OR 5g of pure cocoa
♥ 1 spoon of normal sugar
Chocolate filling: recipe here
1. Rule nr.1 : all dry ingredients (almonds, sugar and cocoa powder) have to be sieved (so there are no big almond pieces or sugar lumps). Mix them all together.
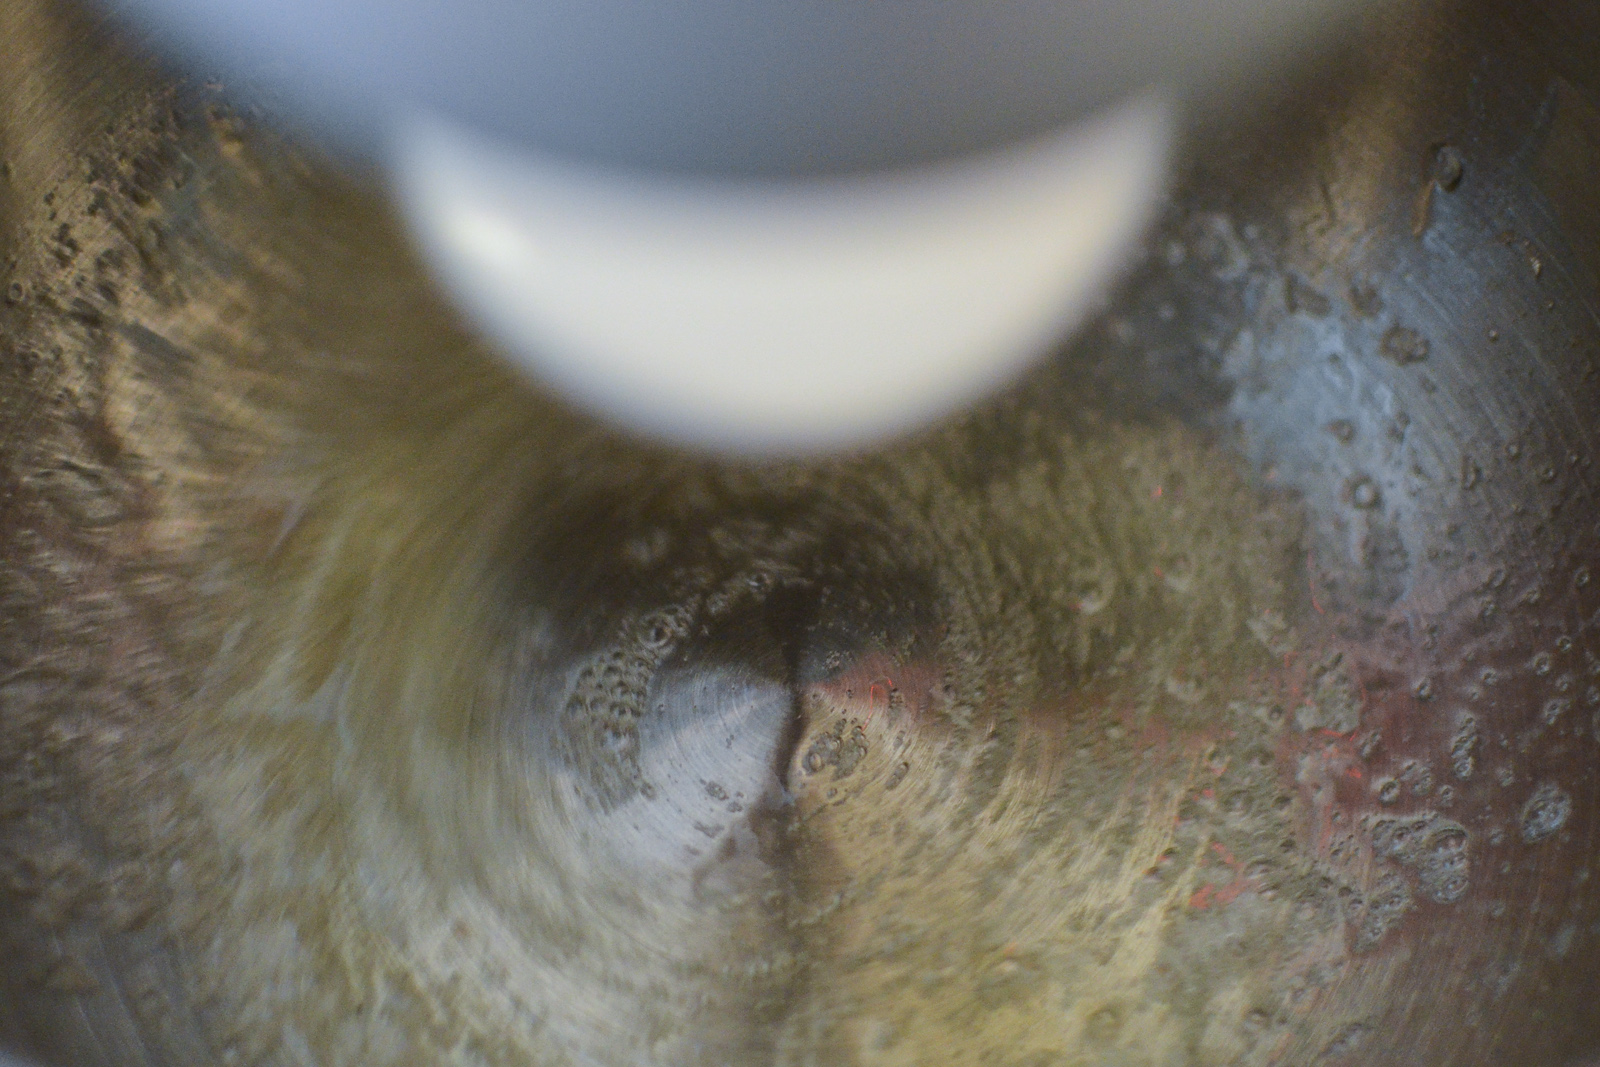
2. First whip the egg white until stiff. To make it easier the egg should be at the room temperature. It is also crucial there is no traces of egg yellow nor waterq in it! Put the egg white with a pinch of salt into a bowl and start beating.
You can use egg whites that are left over from when you needed only egg yellow (even from 2 days before!)
As soon as you can see first bubbles in the egg white, add 1/2 spoon of sugar.
3. Mix few seconds more and add another 1/2 spoon of sugar. Beat until egg white is rigid. To test if it’s good enough turn your bowl with eggs up side down (they shouldn’t move).
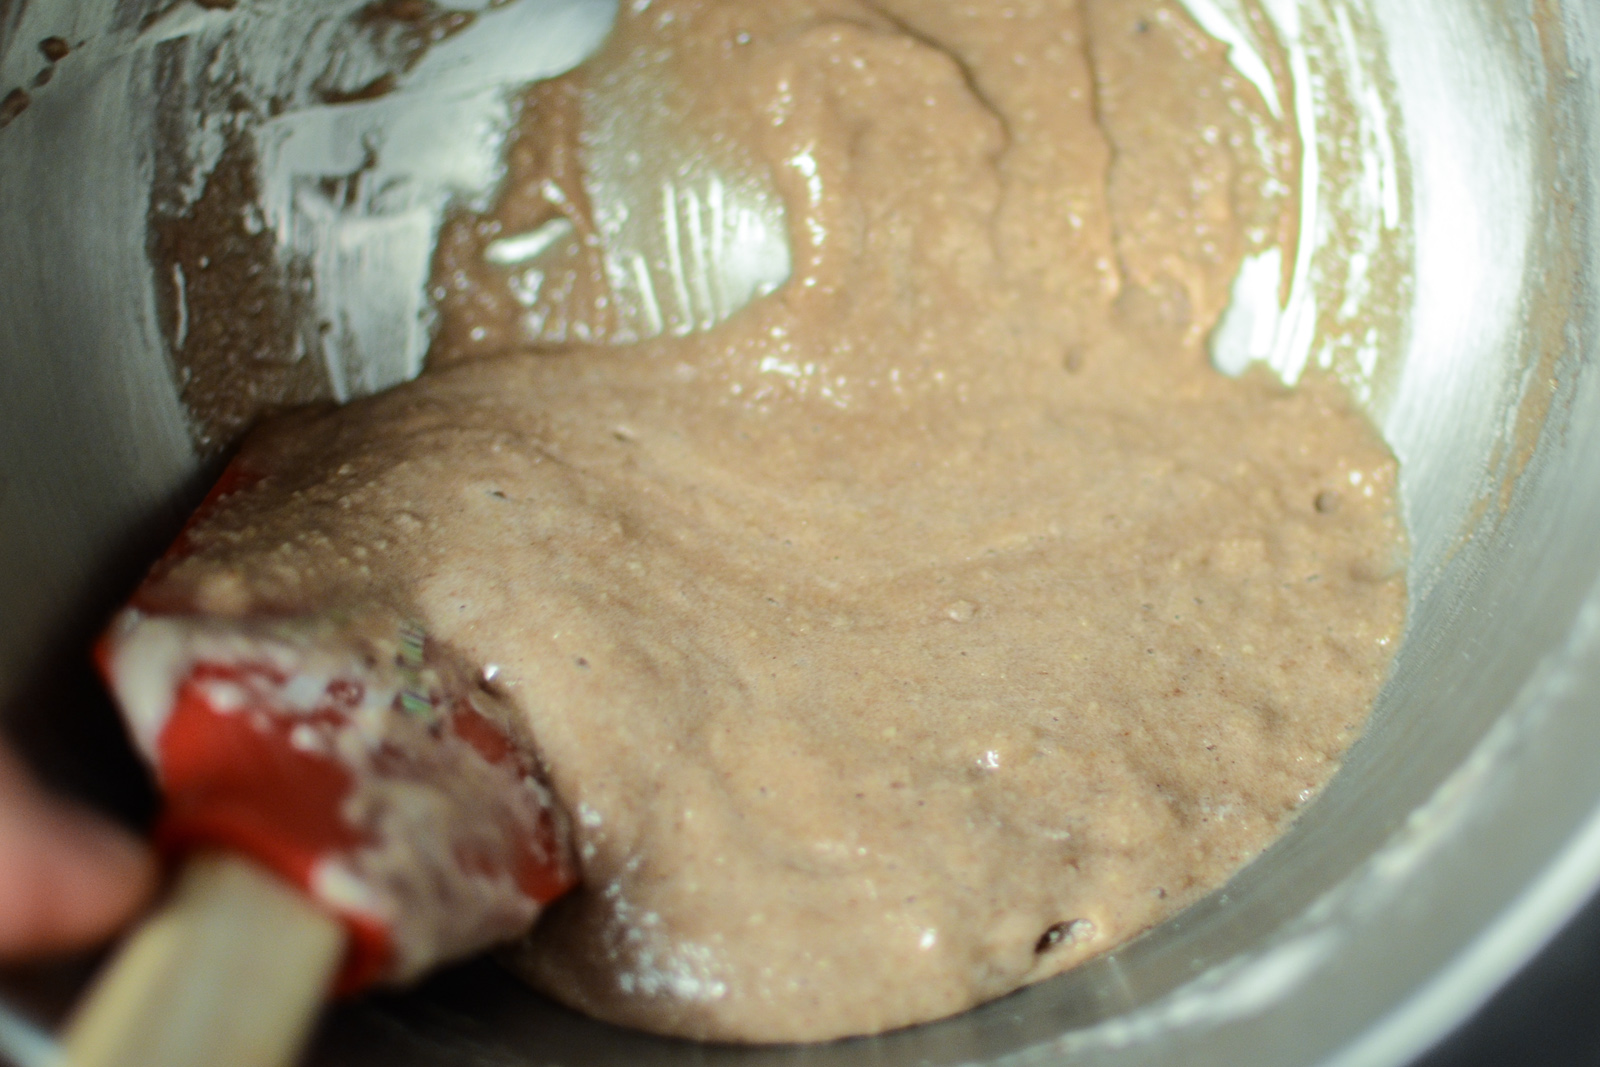
4. Now another tricky part: you need to connect the eggs with dry ingredients. French people have a special ward for it: macaronner.
Separate the “dry mix” (almonds with sugar) into 3 equal portions. Add one at the time to the whipped eggs. After each addition, mix it together slowly but surely using a silicone spatula (see pictures below).

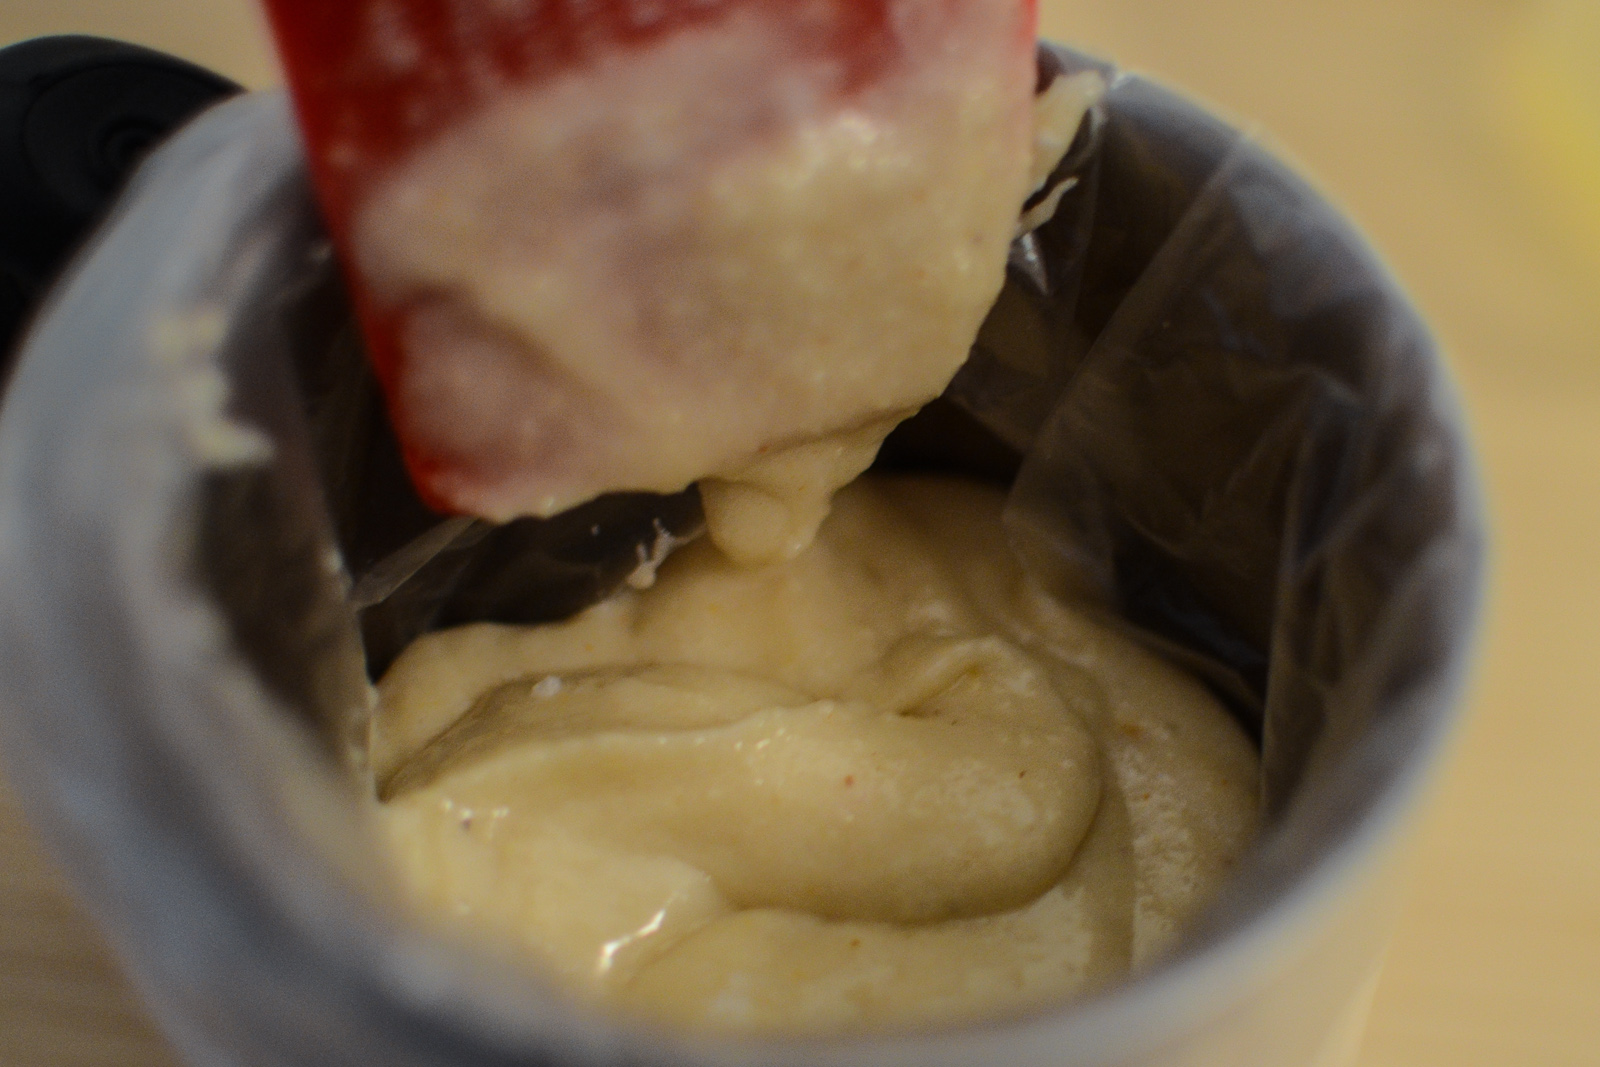
5. When eggs and “dry mix” are combined the batter should not be too liquid. Actually it will be quite sticky and heavy.
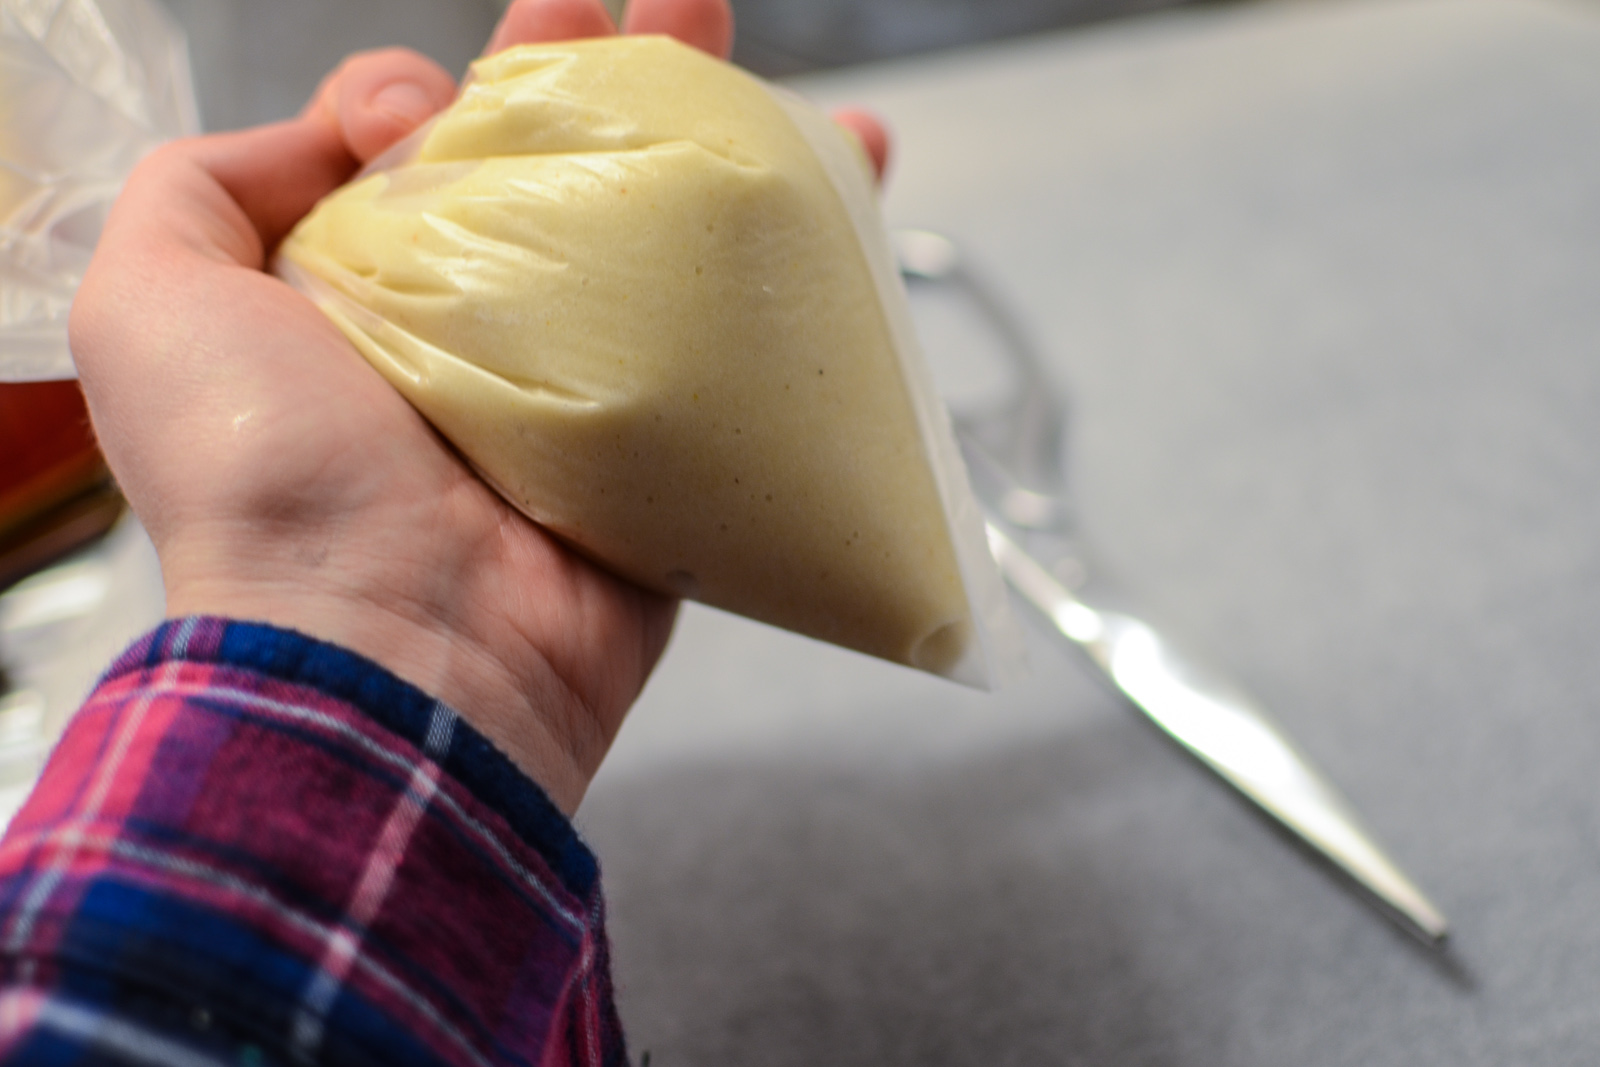
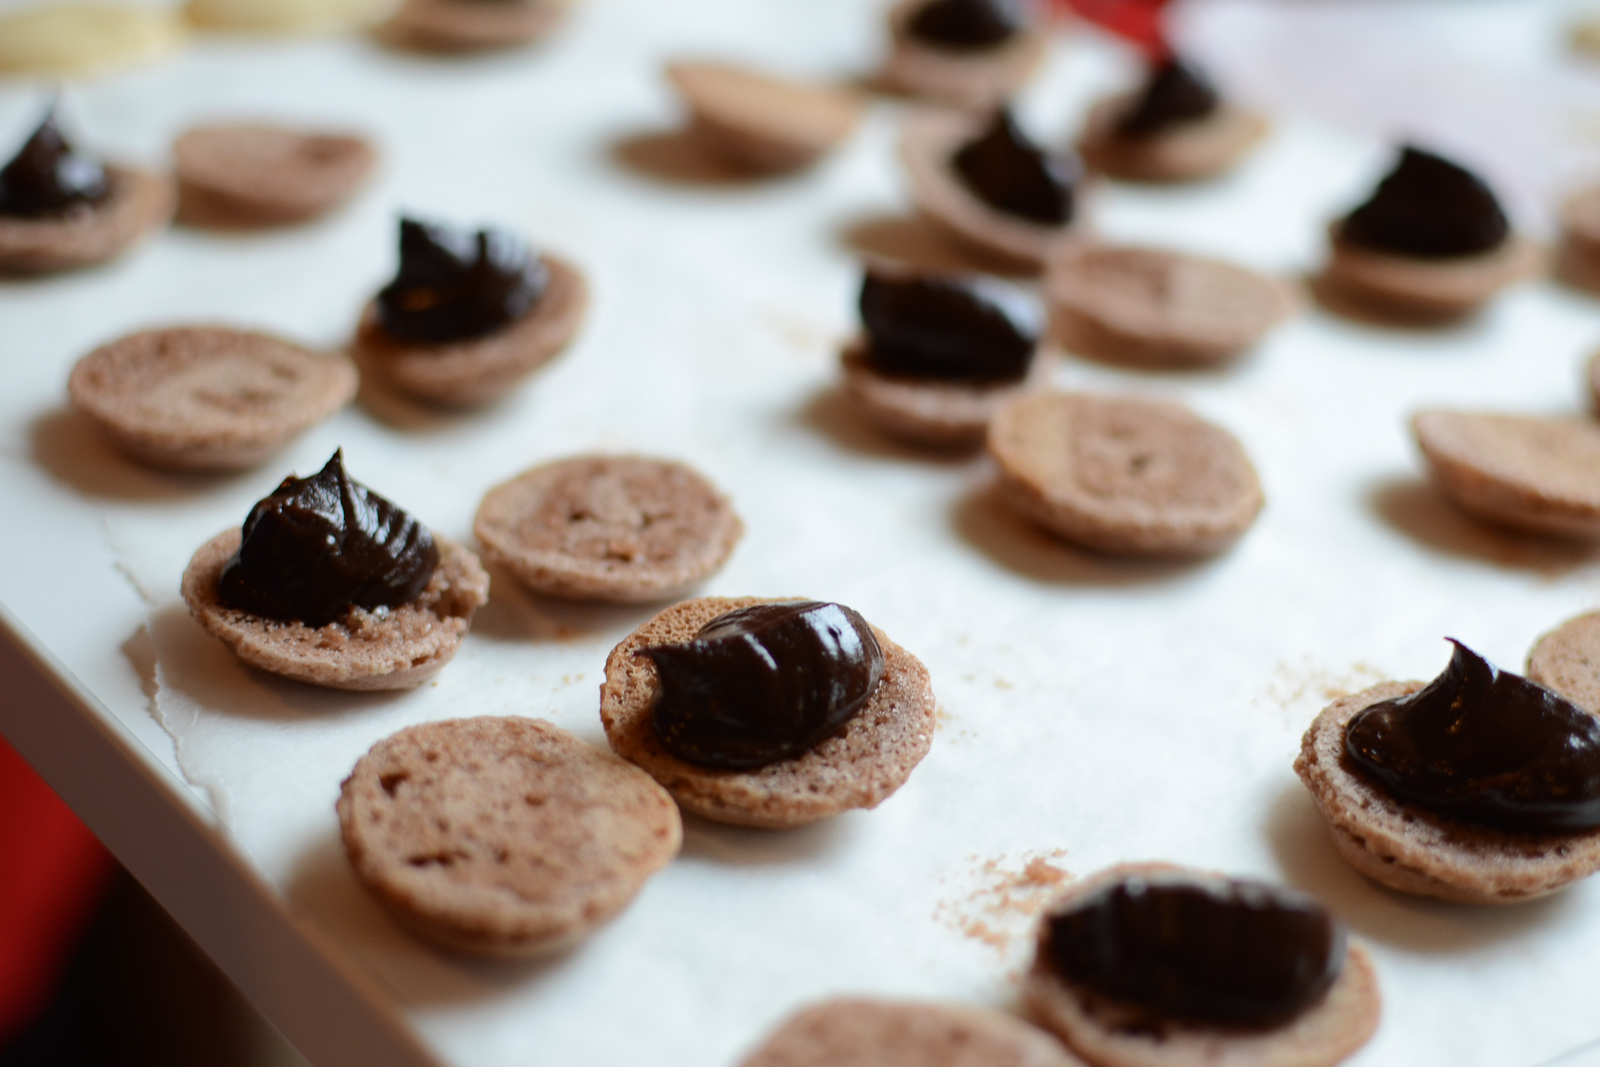
6. Now it’s time to form macarons. To do that I took a clean plastic bag and I fill it with the macarons batter. Then i cut off one of the corners and I form little regular circles directly on the baking paper.
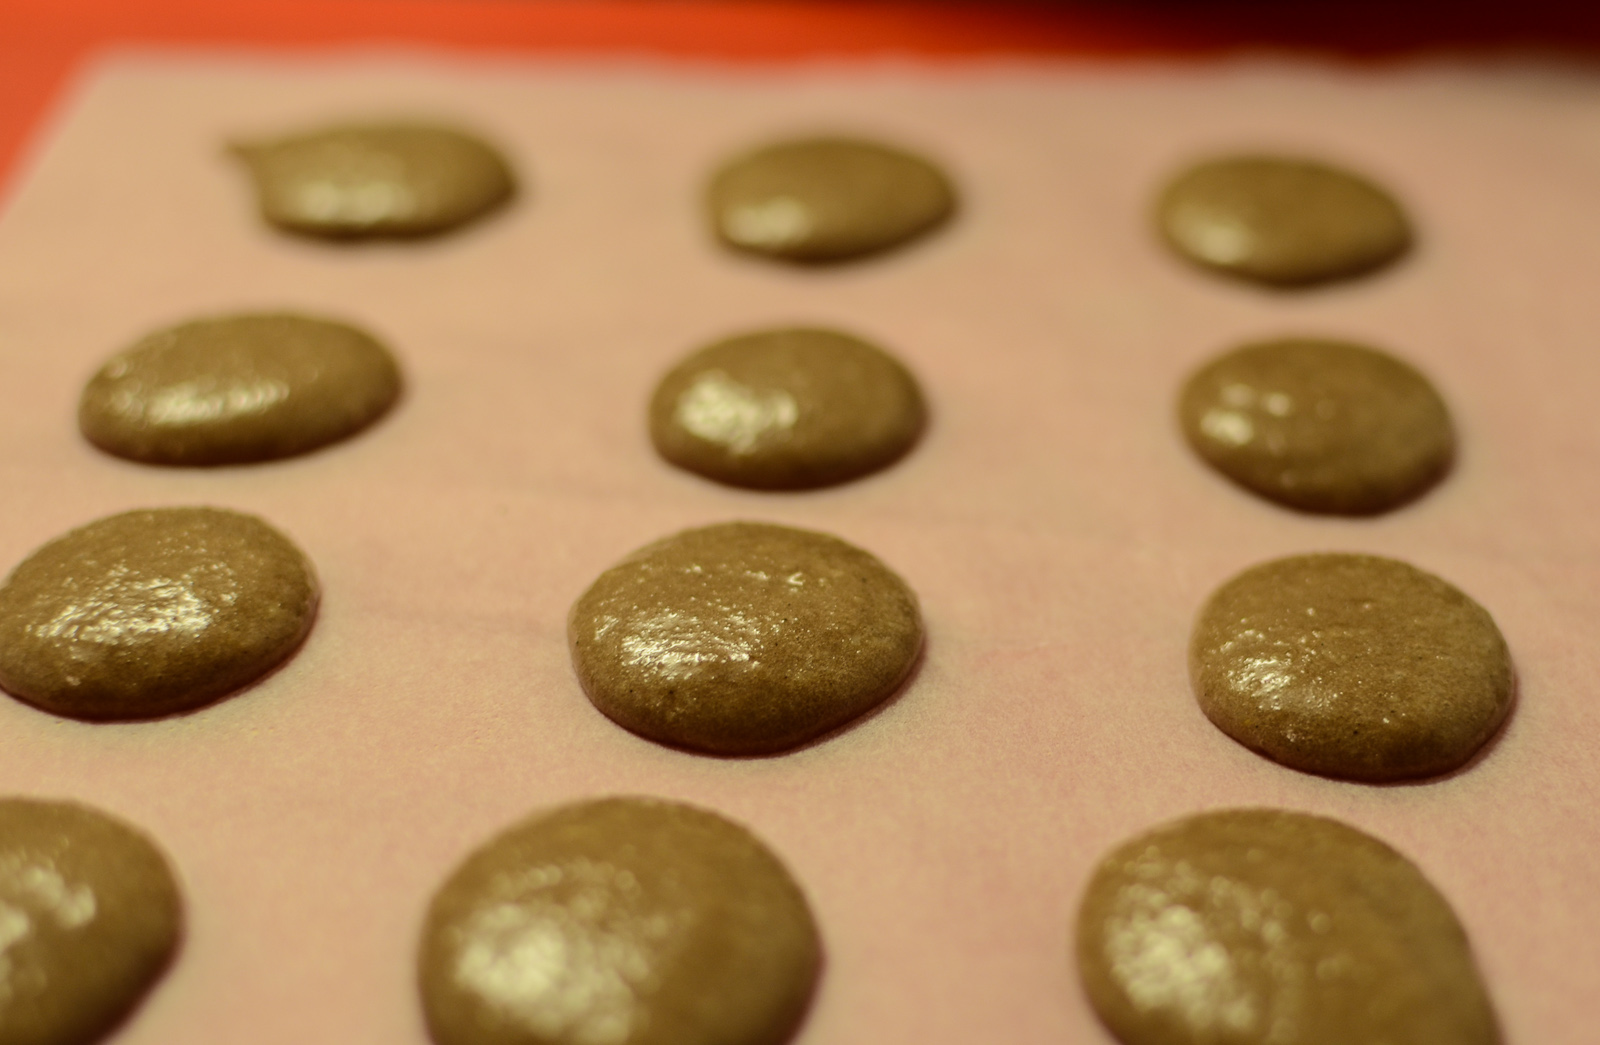
7. Rule nr.2: you need to leave your macarons to dry out a little bit. If the proportions are well respected the batter is sticky and after 10-15min macarons are ready to go to oven. When you touch them (very gently) they shouldn’t stick to your finger.
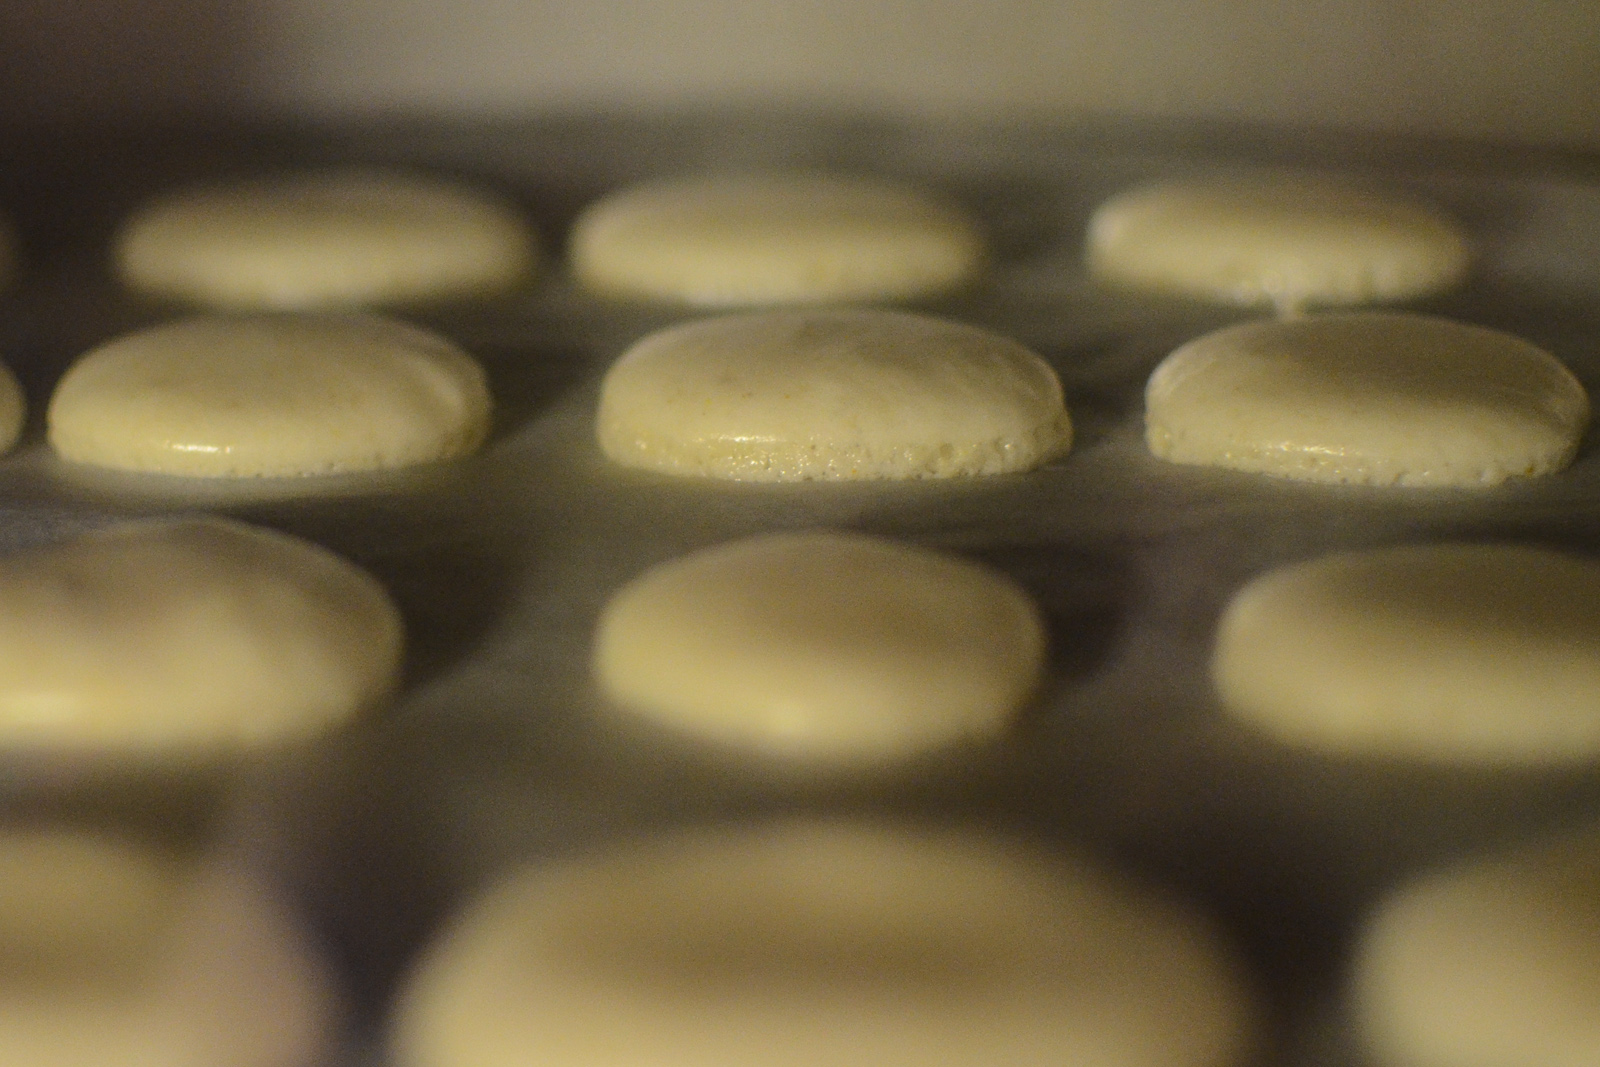
8. Backing time. Now you are around 2min away from seeing if your macarons worked.
The oven should be preheated to 160°C.
Directly after you put your macarons in, turn the oven down to 150°C and bake for 10min.
After 1,5min i usually see the “foot” being formed (they start to grow from below)- it means it works!!! 😀
I watch my macarons all the time of baking to not let them burn (but my oven is really not precise with the temperature).
9. Leave the macarons on the backing paper until they are completely cooled down (then its much easier to separate them from the backing paper).

10. The simpliest filling for the macarons is jam or one of the simple creams: Chocolate cream or lemon crud.
Here also I use a plastic bag instead of pastry bag. For me it works the best for little quantities!
IMPORTANT: It’s not the time to eat them yet! First they need a night in a fridge. The should be covered but not too tightly so the excess of humidity can go out.
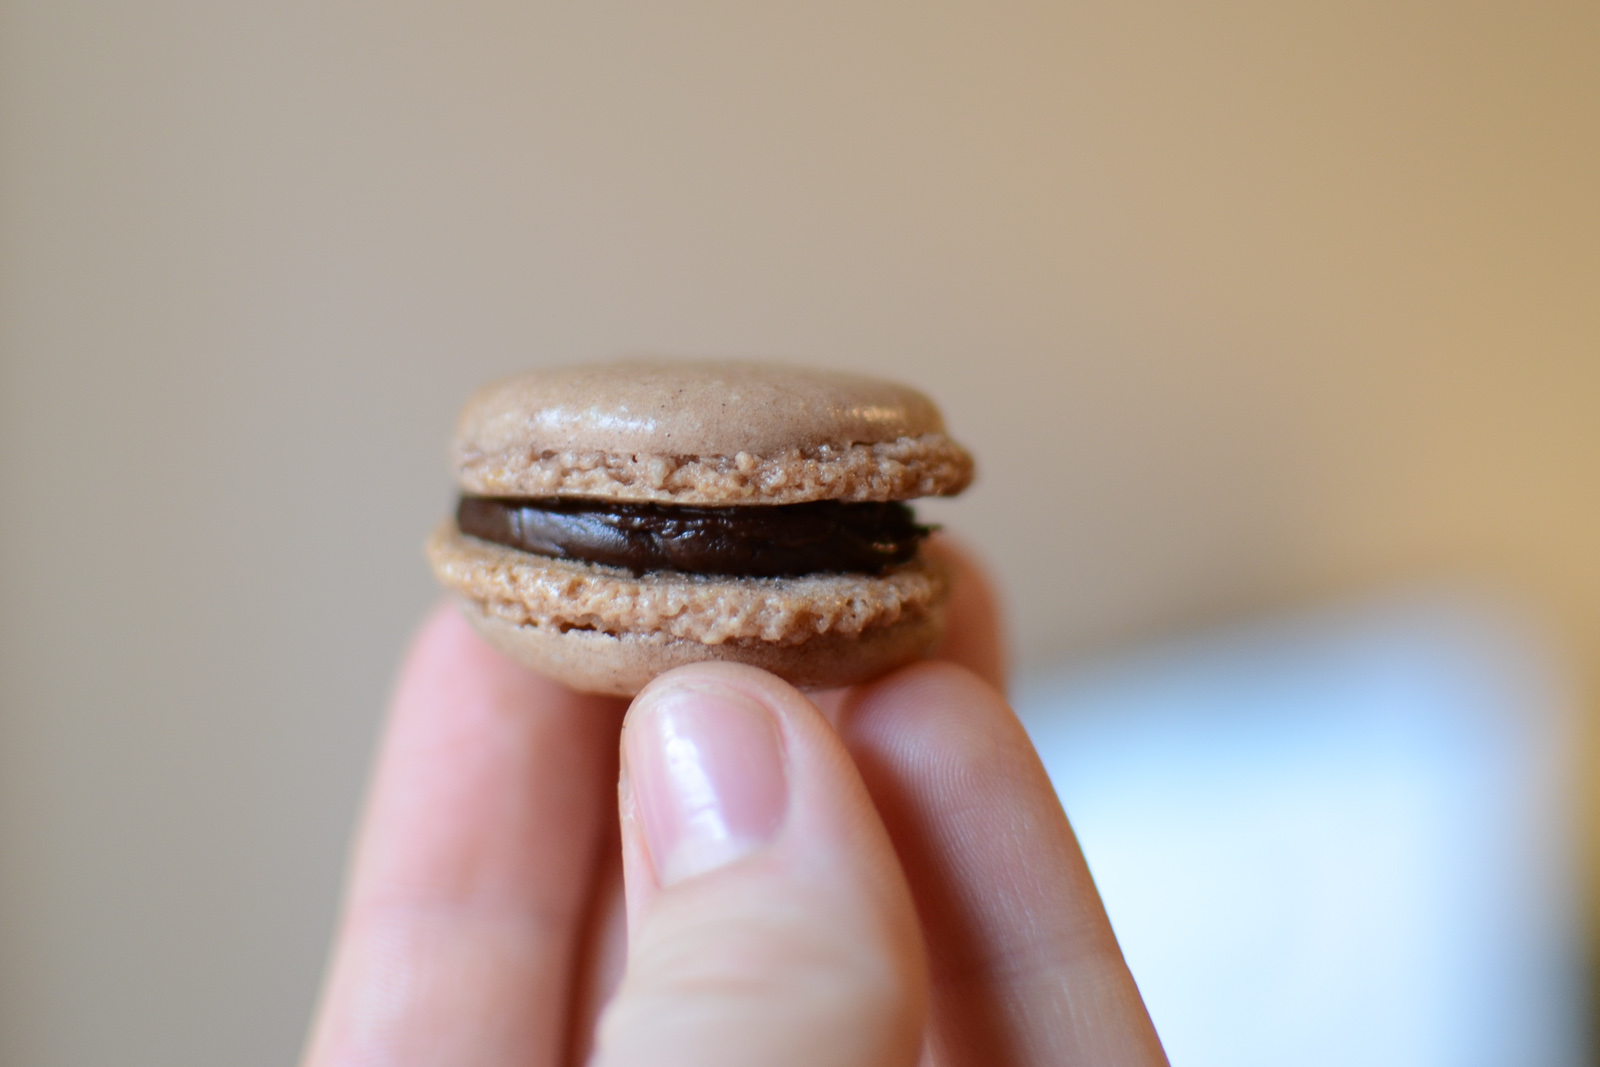
How pretty are these!?
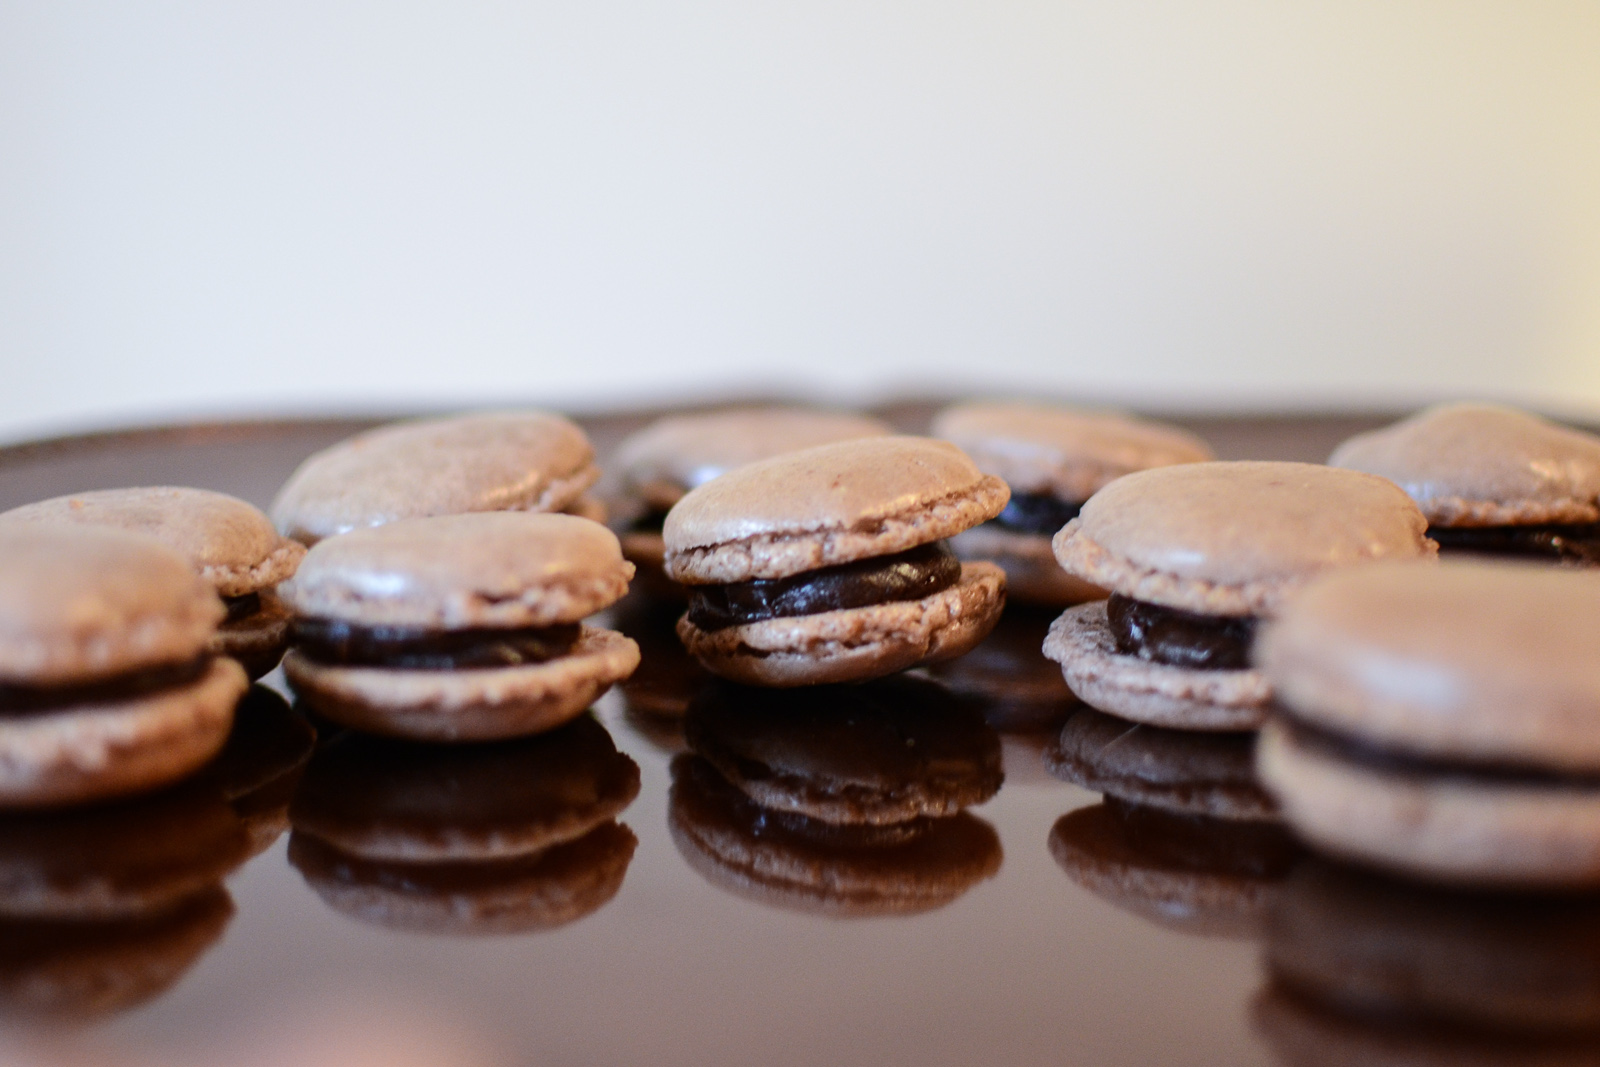

Oh yum, your macarons look great!